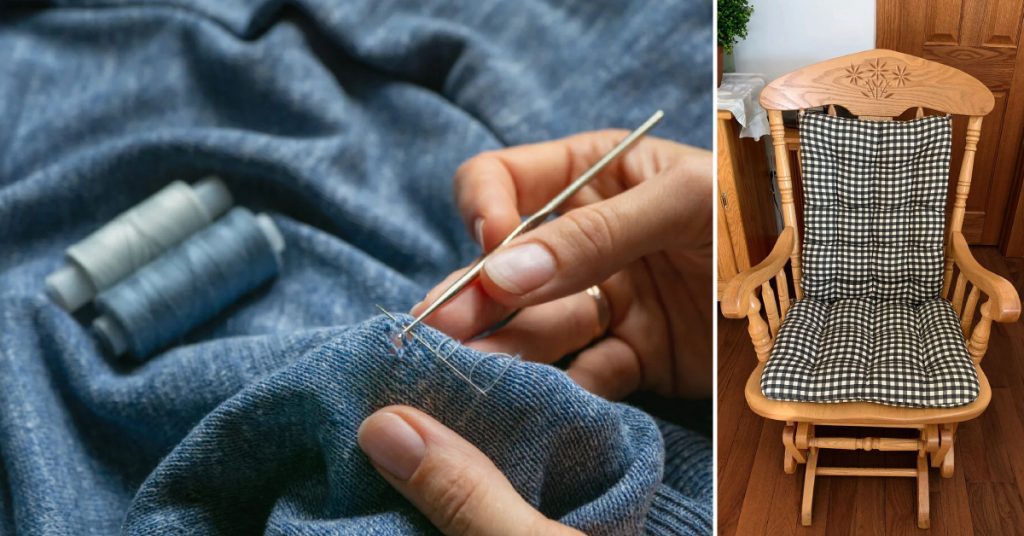
Are you tired of sitting on the hard, uncomfortable surface of your rocking chair? A well-cushioned chair can make a world of difference in your relaxation and enjoyment. In this ultimate guide, we’ll walk through the entire process of how to sew a rocking chair cushion tailored to fit your rocking chair perfectly. From selecting the right materials to assembling professional-looking cushion covers, you’ll gain the skills to transform that bare wooden chair into a cozy, upholstered oasis. Let’s get started!
Key Takeaways:
- Measure precisely and create templates for a perfect fit
- Use upholstery-weight fabrics, high-density foam, and batting
- Incorporate piping, zippers, and tufting for polished details
- Follow care guidelines to maintain cushions over time
Materials and Tools Needed
Before firing up your sewing machine, gather these essential items:
- Fabric: You’ll need enough upholstery-weight or outdoor fabric to cover the seat cushion, back cushion, and any arm cushions. Consider fabrics with directional patterns to align motifs across the pieces. For outdoor use, opt for water-resistant and UV-treated options.
- Foam: High-density polyurethane foam in 2-4 inch thicknesses works well for seat cushions. Memory foam provides excellent comfort for back and arm cushions.
- Batting: Quilt batting made of cotton, polyester, or wool fills out cushions and softens edges. The loft you choose is a personal preference.
- Zippers, Piping, Cording & Buttons: These extras allow you to make removable cushion covers, create tufting effects, and add decorative finishing touches.
- Tools: You’ll need a sewing machine, sharp scissors or rotary cutter, marking pens, a ruler or tape measure, and plenty of pins or clips.
5 Trustworthy Steps for How to Sew a Rocking Chair Cushion
Here are the steps you need to take for how to sew a rocking chair cushion:
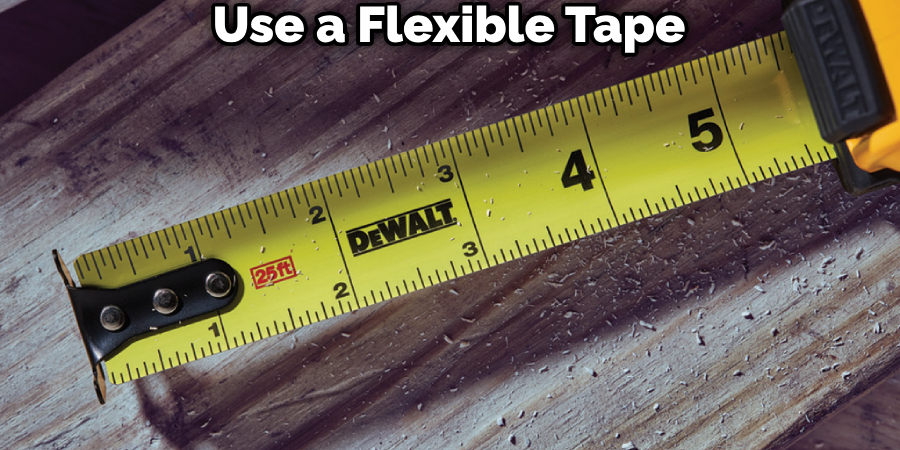
Step 1: Measure the Chair and Create Templates
Precise measurements are key to achieving a perfect fit. Use a flexible tape measure to capture the dimensions of the seat, back, arms, and any other areas to be cushioned. Transfer these measurements to paper, cardboard, or an old fabric sheet to create full-size templates, adding 1-2 inches to each side for seam allowances.
For chairs with curved surfaces, make paper templates by scoring and folding the paper to match the contours as closely as possible. If you don’t have existing cushions to use as guides, pay special attention to the shapes and angles to replicate them in your templates.
Step 2: Cut the Fabric and Foam
With your templates ready, it’s time to cut the actual fabric pieces. Lay the templates onto the fabric and use chalk, a fabric pen, or pins to trace the outlines. Be sure to maximize your fabric usage by positioning the templates as efficiently as possible, especially for directional patterns.
Cut out each shape with sharp scissors or a rotary cutter. For the foam pieces, trace the fabric cutouts onto the foam and use an electric carving knife or heavy scissors to slice through cleanly.
If incorporating piping, cording, or other trims, cut additional strips of fabric before moving to the next step.
Step 3: Assemble the Seat Cushion Cover
For the seat cushion, you have a few options for construction. The simplest method is to sew two square or rectangular pieces of fabric together, leaving an opening along one side for inserting the foam. A more structured “boxed” approach uses additional side pieces to create a wrap-around cover with crisp edges.
No matter which style you choose, the basic steps are:
- Pin the top and bottom pieces of the cushion cover together, right sides facing.
- Using a 1/2 inch seam allowance, sew around the perimeter with your sewing machine, pivoting at the corners, and using a tight stitch length for strength. Backstitch at the beginning and end of each seam.
- Clip the excess seam allowance at the curves to help the fabric ease around the edges.
- Turn the cover right-side out and insert the foam piece. The cover should fit snugly around the foam.
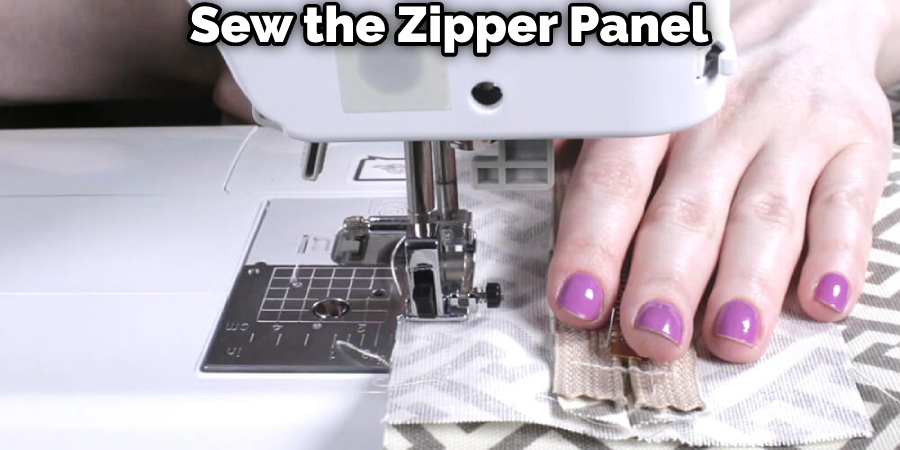
If you choose to have a zippered cushion cover, you’ll sew the zipper panel separately before attaching it between the top and bottom pieces.
Don’t forget to incorporate any piping or cording trims by sandwiching them between the top and bottom fabrics before sewing!
Step 4: Assemble the Back and Arm Cushions
The back cushion poses some unique challenges compared to the seat. Most rocking chairs feature an angled or curved back that needs to be accommodated. The easiest solution is to sew a simple cover in two pieces, much like a pillowcase style, and then insert a layer of batting behind the outer fabric before stuffing it with foam.
When pinning and sewing the back pieces together, be sure to maintain the overall shape and account for any angles. Quilt batting works wonders for conforming to these compound curves. Adding vertical rows of tufting will also help the cushion keep its shape and prevent stretching over time.
For attached back cushions, you may wish to sew ties or tabs to the cover that will wrap around the chair frame to keep it anchored in place. For removable cushions, install a zipper or use velcro fasteners.
The arm cushions can be built using the same techniques as the back – incorporating a batting layer, adding ties or tabs, and tufting as desired.
Step 5: Finishing Touches
To achieve a crisp, tailored look with smooth upholstery, pay close attention to finishing details. Clip any excess seam allowances after sewing, especially at tight curves and corners. This allows the fabric to ease smoothly over edges without bunching.
For zippered cushions, sew the zipper panel closed by hand using a sturdy back-stitch. Bury the zipper pull between the top and bottom fabric layers when installing for an invisible closure.
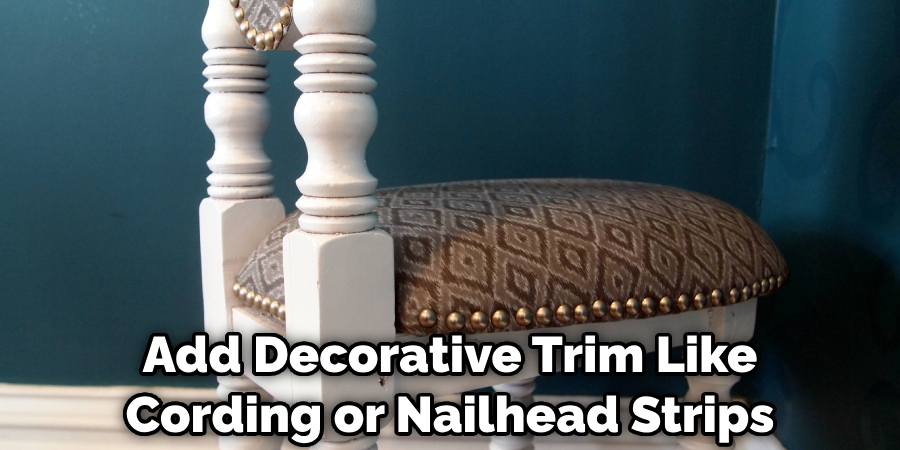
Add decorative trim like cording or nailhead strips by sandwiching them between the fabric layers and stitching along both sides. Double-welt cording gives an especially polished look.
Finally, if you incorporated tufting, hand-sew buttons through each tufting hole using a strong thread wrapped through the batting and foam underneath. The taut thread creates a dimpled effect on the cushion surface.
You Can Check It Out to Fix a Squeaky Upholstered Chair.
7 Tips and Tricks for How to Sew a Rocking Chair Cushion
Working with multiple thick layers of foam, batting, and upholstery fabrics is no easy task. Here are some tips to make the process smoother:
- Use a heavy-duty sewing machine needle and lengthen the stitch for better penetration
- A walking or even-feed foot helps feed the materials through evenly without shifting
- For thicker foams, use curved shears or serrated knives for clean cuts with less resistance
- Align any directional patterns by centering templates before cutting
- Quilt batting is prone to stretching, so handle it minimally and baste it in place before sewing the covers
- Pack stuffing firmly into all crevices and corners to prevent wrinkles
- Spray cushions with fabric protection before use to resist stains and moisture
Care and Maintenance for How to Sew a Rocking Chair Cushion
To keep your handmade rocking chair cushions looking great, follow these care guidelines:
- For indoor cushions, vacuum periodically and spot clean spills right away before stains are set. Every few months, use an upholstery cleaner to refresh the fabric.
- Outdoor cushions stand up well to the elements when made of specially designed fabrics like Sunbrella. Still, it’s best practice to bring them inside during heavy storms. Spray fabric protectors annually to maintain water repellency.
- When not in use for extended periods, store cushions in a breathable fabric cover or box to keep dust and dirt off. Fluff them periodically to restore the loft.
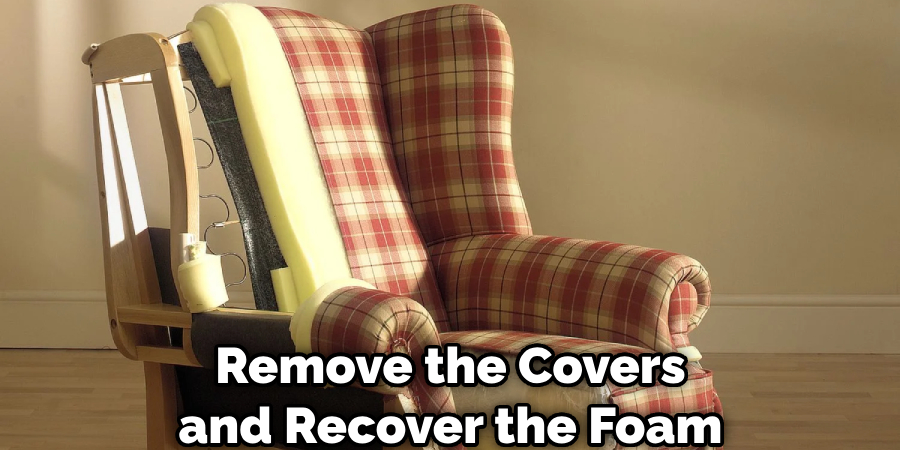
- If cushions start to break down and look worn over time, remove the covers and recover the foam inserts with fresh fabrics and batting for an inexpensive refresh.
FAQs About How to Sew a Rocking Chair Cushion
What is the Best Material for Rocking Chair Cushions?
When selecting material for rocking chair cushions, consider factors such as comfort, durability, and maintenance. Cotton offers breathability and softness but may wrinkle, while polyester is durable and easy to clean but may lack breathability. Acrylic is resistant to sunlight and moisture, making it ideal for outdoor use, and Sunbrella fabric is highly durable and weather-resistant. Memory foam provides excellent support and comfort but may retain heat. Choose the material that best suits your specific needs and preferences.
What Kind of Fabric Do You Use for Chair Cushions?
The fabric used for chair cushions varies, with popular options including cotton for breathability and comfort, polyester for durability, acrylic for outdoor use, Sunbrella fabric for weather resistance, and memory foam for excellent support and comfort.
What Kind of Foam is Best for Chair Cushions?
The best foam for chair cushions often depends on personal preferences, but popular options include high-density foam for excellent support and durability, memory foam for exceptional comfort and pressure relief, and latex foam for resilience and allergy resistance. The choice of foam should align with specific comfort needs and the intended usage of the chair.
Conclusion
You’ve gained all the essential knowledge to create comfortable, stylish cushions tailor-made for your rocking chair. With the right materials, tools, and attention to detail, this rewarding DIY project is absolutely within reach.
Get creative with fabric patterns, decorative trims, tufting techniques, and color palettes to craft cushions that complement your unique decorating style. Most of all, have fun transforming that plain wooden rocker into a luxurious upholstered lounger.
We can’t wait to see you finish how to sew a rocking chair cushion! Share your makes with us by sending an email or commenting down below.