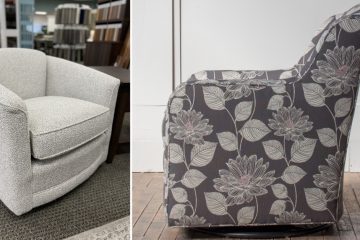
Reupholstering dining chairs with piping is an excellent way to breathe new life into your dining room decor. This detailed guide will walk you through the process step-by-step, providing expert tips and techniques on how to reupholster chair with piping to achieve a professional-looking result.
Key Takeaways:
- Piping adds a polished look to reupholstered chairs
- Process involves 8 steps, from removing old fabric to reattaching the seat
- Essential materials include upholstery fabric, foam, piping cord, and staple gun
- Professional tips include using quality fabric and contrasting piping colors
Understanding the Importance of Piping
Piping, also known as welting, is a decorative element that adds a polished and refined look to upholstered furniture. It creates clean lines and defines the edges of the chair, giving it a more finished appearance. While not strictly necessary, piping can elevate the overall aesthetic of your dining chairs.
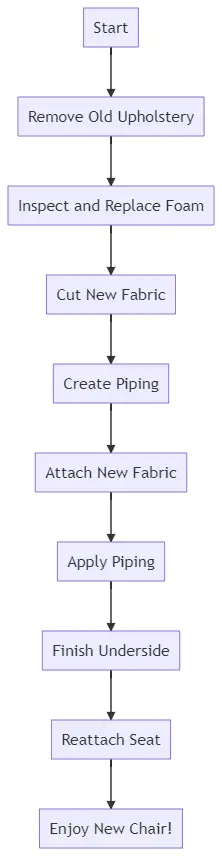
8 Faithful Step-by-Step Process for How to Reupholster Chair With Piping
Here are the 8 steps for how to reupholster chair with piping:
Materials Needed:
Before we begin, let’s gather all the necessary materials:
- Upholstery fabric
- Foam padding (if replacement is needed)
- Cotton piping cord
- Staple gun and staples
- Scissors
- Measuring tape
- Sewing machine
- Zipper foot or piping foot
- Thread
- Seam ripper
- Pliers
- Screwdriver
- Dust cover fabric
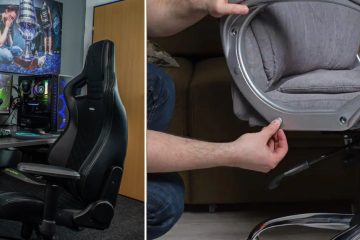
Step 1: Remove the Old Upholstery
- Flip the chair upside down and remove the screws holding the seat in place.
- Using a staple lifter or pliers, carefully remove all staples securing the old fabric.
- Take photos of the original upholstery for reference during reassembly.
- Set aside the old fabric to use as a pattern for cutting the new fabric.
Step 2: Inspect and Replace Foam if Necessary
- Examine the foam padding for signs of wear or compression.
- If needed, replace with high-density foam for improved comfort and longevity.
- Cut the new foam to match the seat dimensions, allowing for a slight overhang.
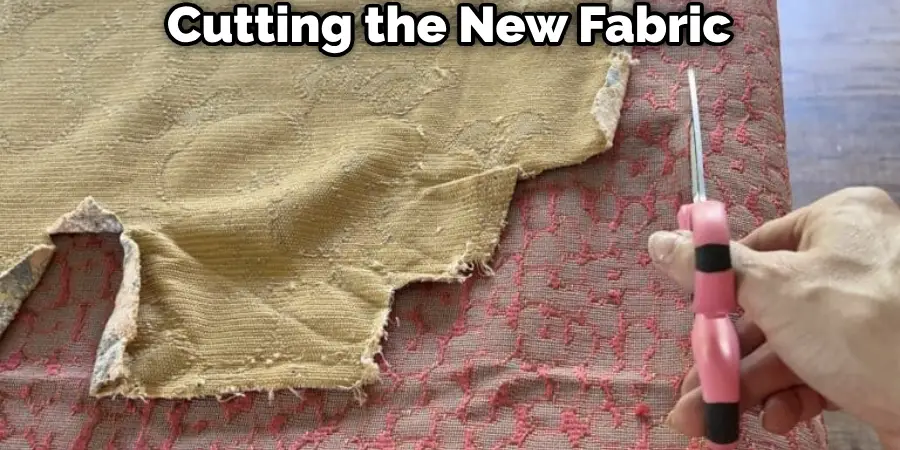
Step 3: Cut the New Fabric
- Use the old fabric as a template to cut your new upholstery fabric.
- Add an extra 2-3 inches around all sides to allow for wrapping and stapling.
- If using patterned fabric, ensure proper alignment and centering.
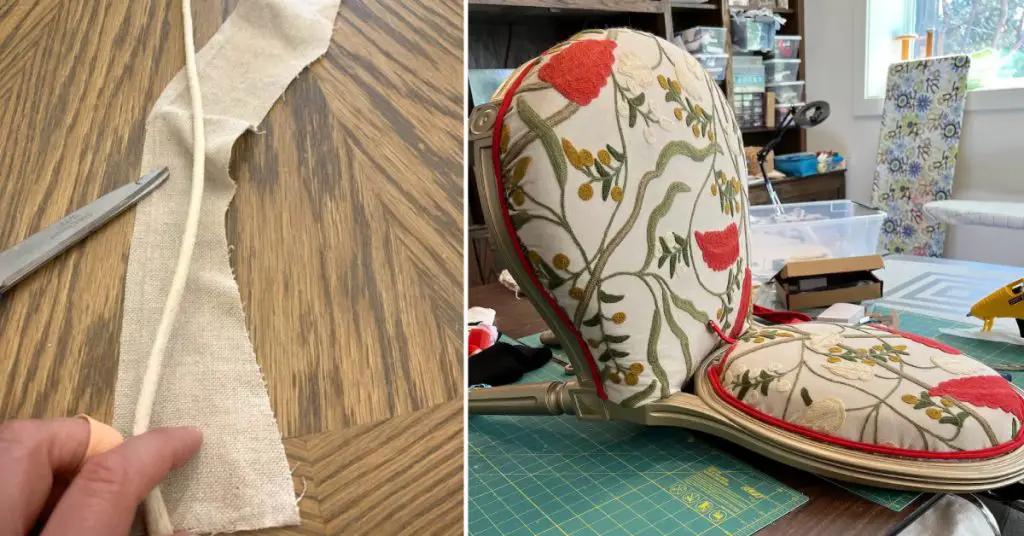
Step 4: Create the Piping
- Cut bias strips of fabric 2 inches wide.
- Sew the strips together at a 45-degree angle to create one long strip.
- Wrap the fabric around the cotton piping cord, aligning raw edges.
- Using a zipper foot or piping foot, sew close to the cord to secure the fabric.
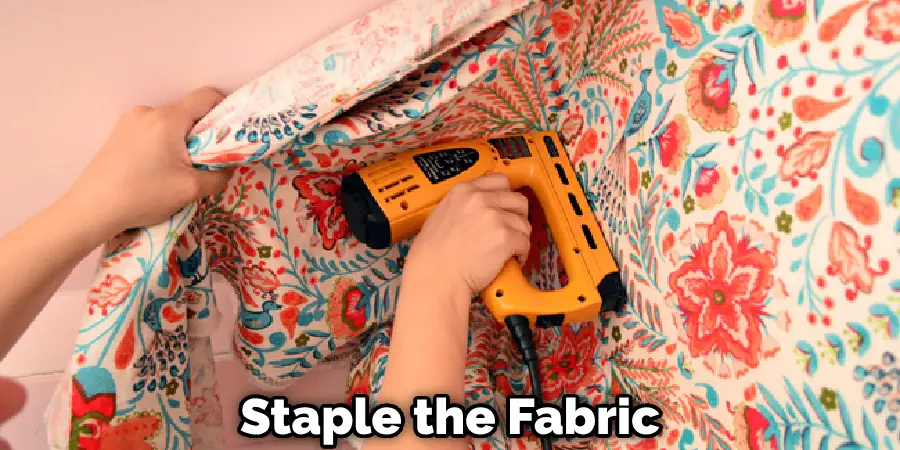
Step 5: Attach the New Fabric
- Center the fabric on the seat, pattern side down.
- Staple the fabric at the center of each side, pulling taut.
- Work your way around the seat, stapling every few inches.
- Create neat corners by folding and tucking excess fabric.
Step 6: Apply the Piping
- Starting at the back of the seat, hot glue the piping along the edge.
- Ensure the piping is snug against the seat edge for a clean look.
- When you reach the starting point, trim excess piping and tuck the end under.
Step 7: Finish the Underside
- Trim excess fabric, leaving about 1 inch overhang.
- Fold raw edges under and staple for a clean finish.
- Apply a dust cover to the bottom of the seat for a professional appearance.
Step 8: Reattach the Seat
- Align the seat with the chair frame.
- Secure the seat using the original screws.
5 Pro Tips for a Professional Finish
- Always use high-quality upholstery fabric for durability.
- Consider using a contrasting color for the piping to add visual interest.
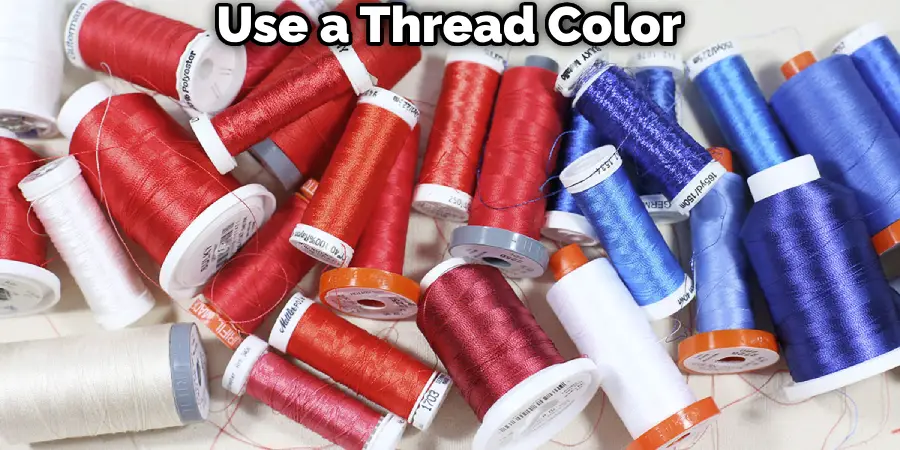
- When sewing piping, use a thread color that matches the cord rather than the fabric.
- Steam or iron your fabric before use to remove any wrinkles.
- Take your time with corners and edges for the cleanest look.
Maintaining Your Newly Upholstered Chairs
To keep your reupholstered dining chairs looking their best:
- Vacuum regularly to remove dust and debris.
- Treat spills immediately with appropriate cleaning methods.
- Rotate cushions periodically to ensure even wear.
- Consider using fabric protector spray for added stain resistance.
FAQs About How to Reupholster Chair With Piping
Do Plumbs Reupholster Chairs?
Yes, Plumbs offers professional reupholstery services for chairs and other furniture. They provide made-to-measure furniture covers and reupholstery options with a wide range of fabric choices, including machine washable options. Their craftsmen in Britain ensure quality work with a 3-year guarantee on their products, making them a reliable choice for chair reupholstering.
What is Upholstery Piping?
Upholstery piping, also known as welting, is a fabric-covered trim used on upholstered furniture to outline the fabric seams along the edges, adding both a decorative touch and extra strength to the seams. It is a narrow tube of fabric encasing a cord, commonly used on sofas, chairs, and cushions to define the edges and provide reinforcement, offering a professional finish to a wide range of upholstered items. Additionally, it can be handmade to match upholstery fabric, making it a versatile and customizable design element for upholstery projects.
How Do You Reupholster a Cushioned Chair?
Reupholstering a cushioned chair involves removing the seat cushion, old fabric, and staples, then assessing and replacing the seat foam if needed. Next, cut and staple the new fabric to the seat, ensuring a snug fit and neat corners. Finally, reattach the dust cover and seat to the chair, paying attention to fabric alignment and using the appropriate tools for stapling. Optional steps include applying a dust cover fabric to hide exposed wood and staples for a polished look.
Conclusions
By following this comprehensive guide, you’ll be able to transform your dining chairs with beautiful, professionally finished upholstery complete with piping. Not only will you save money, but you’ll also have the satisfaction of a job well done and chairs that perfectly match your decor.