Are you looking to update your walls or create a more open space? Removing chair railings is the first step! In this concise guide, we’ll walk you through the process of how to remove chair railing with minimal damage. By following our expert tips and techniques, you’ll be able to achieve a fresh and modern look for your home. Let’s get started on transforming your walls and creating a space that reflects your style!
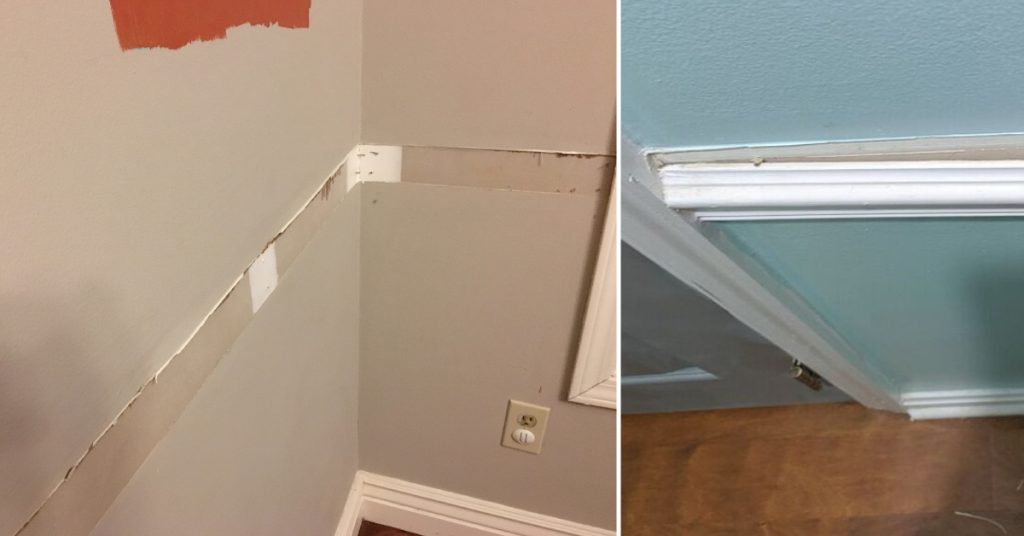
Understanding Chair Rails
Chair rails are horizontal moldings installed on walls, typically positioned around 32 to 36 inches from the floor. They serve both functional and decorative purposes. Originally designed to protect walls from furniture, chair rails now add elegance and visual interest to a room.
These trim pieces help create a balanced and stylish look, dividing walls into sections or panels. However, removing chair rails can open up design possibilities if you want a more modern or spacious feel. You can explore various wall treatments like wallpaper or artwork.
By grasping the purpose and potential of chair rails, you can decide whether to keep or remove them. In the upcoming sections, we’ll guide you through the process of the chair rail removal, ensuring a smooth and successful transformation of your walls. Let’s dive in and uncover the possibilities!
4 Preparation Before Chair Rail Removal Process
Before you begin removing chair railings, it’s essential to properly prepare your workspace. Here are the key steps to ensure a smooth and efficient process:
1. Gather the Necessary Tools
Make sure you have all the tools you’ll need for the job. These may include a utility knife, putty knife, pry bar, screwdriver, trim puller, spackling paste, sandpaper, primer, and a hammer with a felt pad.
2. Clear the Area
Remove any furniture, decor, or items near the chair railings to create a clear and unobstructed workspace. This will prevent accidental damage and make it easier to maneuver during the removal process.
3. Protect Surfaces
Cover windows, doors, and nearby surfaces with drop cloths or plastic sheets to prevent any debris or paint splatters from causing damage or making a mess.
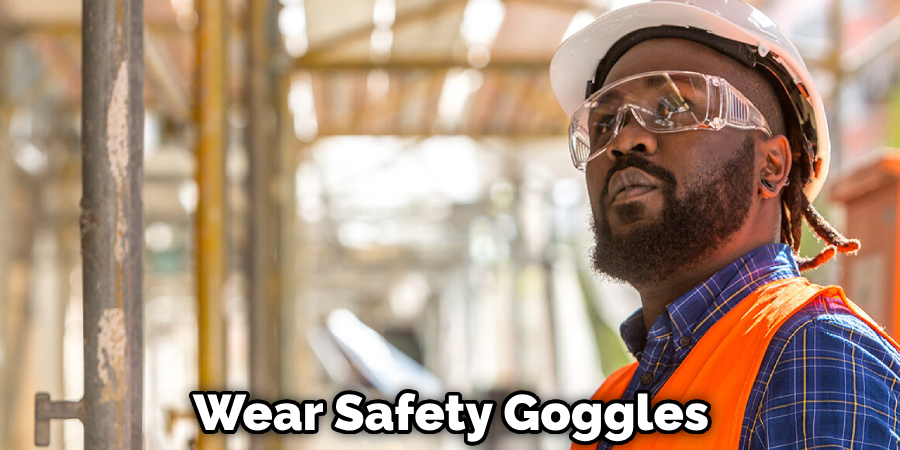
Wear protective gear: It’s important to prioritize safety during the removal process. Wear safety goggles to protect your eyes from flying debris, and consider wearing gloves to safeguard your hands.
4. Inspect the Chair Railings
Take a closer look at the chair railings to identify any specific challenges or areas requiring extra attention during removal. Note any rusty or corroded nails that may need special handling.
By adequately preparing your workspace and gathering the necessary tools, you’ll be ready to tackle the chair rail removal process with confidence. In the following sections, we’ll guide you through each step, ensuring a successful and damage-free experience. Let’s move forward and start transforming your walls!
6 Easy Step-by-Step Guide How to Remove Chair Railing
Step 1: Score the Edges
Begin by using a utility knife to score along the top and bottom edges of the chair rail where it meets the wall. This will help break the seal off any caulk or paint, making it easier to remove.
Step 2: Wedge the Putty Knife
Take a sturdy putty knife and wedge it behind the chair rail, preferably near a nail or fastener. You can use a screwdriver or a trim puller as a block against the wall to provide leverage.
Step 3: Pry Off the Chair Rail
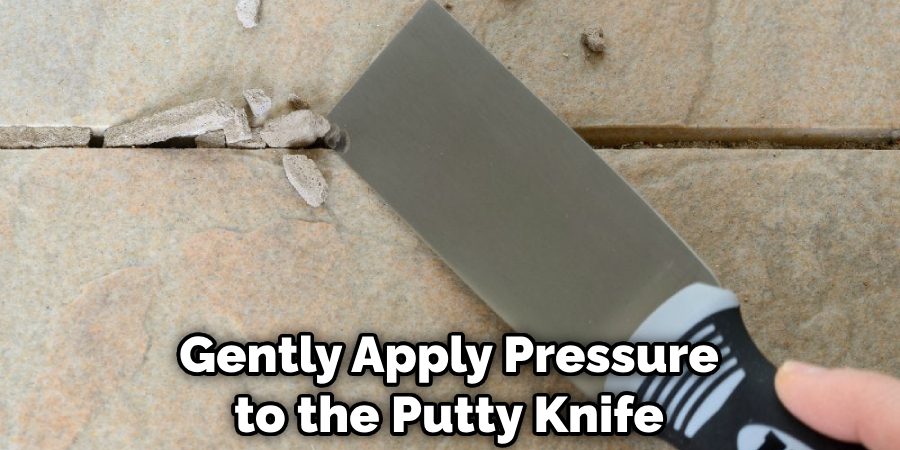
Gently apply pressure to the putty knife, gradually prying the chair rail away from the wall. Take care not to rush or use excessive force to avoid causing dents or holes in the wall.
Step 4: Deal With Nails
As you remove the chair rail, you may encounter nails or fasteners. If the nails are visible, use pliers or a claw hammer to carefully remove them from the wall. If the nails are hidden, continue prying the chair rail until they are exposed, then remove them.
Step 5: Fill in Any Gaps
After removing the chair rail, inspect the wall for any peeling spots or small holes left behind. Use spackling paste to fill in these gaps, applying thin layers. Allow each layer to dry before applying additional coats as needed.
Step 6: Smooth and Prime the Surface
Once the spackling paste has dried, sand the filled areas to create a smooth surface. After sanding, prime the wall to ensure even paint adhesion and prevent splotches.
Throughout the chair rail removal process, be cautious and use a putty knife or a felt pad on a hammer to protect the wall from any damage. Following these steps will help you successfully remove chair railings and prepare your walls for further enhancements.
In the following sections, we’ll guide you through repairing and preparing the walls for painting or other decorative treatments. Let’s continue our journey to transform your space!
You Can Check It Out to Install Chair Rail Without a Nail Gun
Repairing and Preparing the Walls
Once you have successfully removed the chair railings, it’s important to repair and prepare the walls for a clean and polished finish. Follow these steps to ensure your walls are ready for the next phase of transformation:
1. Patch Any Holes
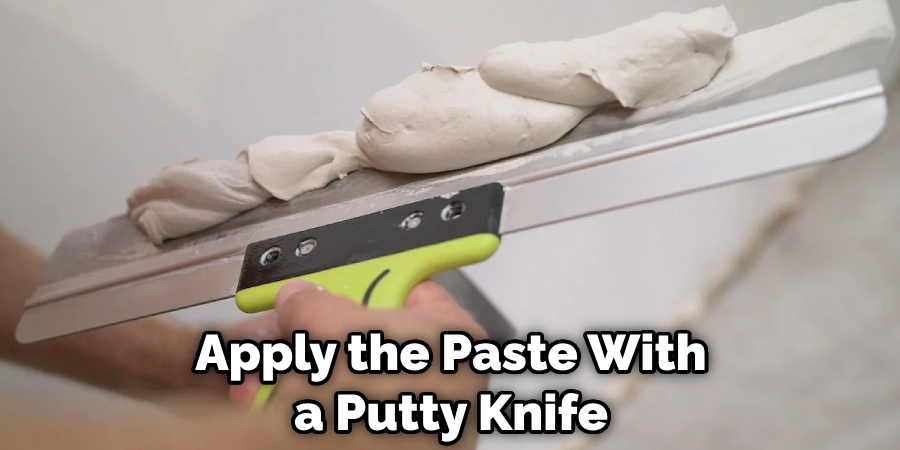
Inspect the wall for any remaining nail holes or small imperfections. Use spackling paste or a lightweight wall patching compound to fill in these holes. Apply the paste with a putty knife, smoothing it out evenly. Allow it to dry according to the manufacturer’s instructions.
2. Sand the Patched Areas
After the spackling paste has dried, lightly sand the patched areas using fine-grit sandpaper. This will create a smooth surface and help blend the repaired areas with the rest of the wall.
3. Clean the Walls
Before proceeding, make sure the walls are free from dust, dirt, and debris. Use a damp cloth or sponge to wipe down the walls, removing any surface contaminants. This will ensure proper paint adhesion and a clean finish.
4. Prime the Walls
Applying a primer is crucial for achieving an even and professional-looking paint job. Use a high-quality primer specifically designed for your wall types, such as drywall or plaster. Apply the primer to the walls using a brush or roller, following the manufacturer’s instructions. Allow the primer to dry completely before proceeding.
5. Sand the Primed Walls (Optional)
If you notice any rough areas or imperfections on the primed walls, you can lightly sand them using fine-grit sandpaper. This step will further smooth out the surface and create a flawless canvas for your chosen wall treatment.
With the walls repaired, cleaned, and primed, they are now ready for painting, wallpaper installation, or any other decorative treatment you have in mind. Follow the specific instructions for your desired wall transformation to achieve the desired look and feel in your space.
In the next sections, we’ll explore additional tips and considerations to ensure a successful finish and provide you with the tools you need to bring your vision to life. Let’s continue our journey toward a beautifully transformed room!
7 Safety Precautions and Best Practices
When removing chair railings and working on your walls, it’s essential to prioritize safety to prevent accidents and ensure a smooth process. Follow these safety precautions and best practices to protect yourself and your surroundings:
1. Wear Protective Gear
Always wear safety goggles to shield your eyes from flying debris, especially when using tools like pry bars or hammers. Consider wearing gloves to protect your hands from sharp edges or potential splinters.
2. Use Proper Tools and Techniques
Ensure you have the appropriate tools for the job, such as a utility knife, putty knife, pry bar, and safety-rated ladder if needed. Familiarize yourself with the correct usage of each tool and follow recommended techniques to minimize the risk of injury.
3. Take Care When Removing Nails
When removing nails from the wall or chair railings, use pliers or a claw hammer with caution. Keep your hands clear of the striking area to avoid accidental hits or pinches.
4. Maintain a Clean and Organized Workspace
Clear the area of any obstacles or tripping hazards before starting. This includes removing furniture, rugs, or other items that may impede your movement. Keeping a tidy workspace reduces the risk of accidents and allows for easier maneuverability.
5. Be Mindful of Electrical Outlets and Wiring
Pay attention to the placement of electrical outlets and wiring near the chair railings. Avoid damaging or interfering with any electrical components during the removal process. If in doubt, consult a professional electrician to ensure safety.
6. Work in a Well-ventilated Area
If you’re using spackling paste, primer, or other chemical-based products, ensure proper ventilation in the room. Open windows or use fans to circulate fresh air, reducing exposure to fumes.
7. Follow Manufacturer Instructions
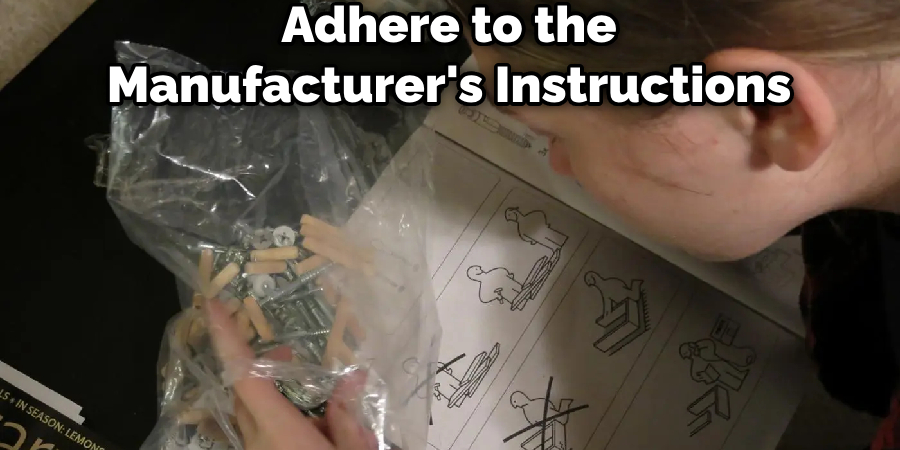
When using any products, tools, or materials, carefully read and adhere to the manufacturer’s instructions and warnings. This ensures proper usage and mitigates potential risks.
Remember, patience is key throughout the chair rail removal process. Take your time, work methodically, and prioritize safety at all times. If you encounter any challenges or feel unsure about a particular step, don’t hesitate to seek guidance from professionals or experts. By following these safety precautions and best practices, you can confidently transform your walls while keeping yourself and your space protected.
You Can Check It Out to Remove Acorn Stairlift Chair From Rail
FAQs About How to Remove Chair Railing
Why Do People Use Chair Rails?
Chair rails are used for both practical and decorative purposes. Initially, they were designed to protect walls from chair backs, but today they serve as a way to establish proportions and create separate zones within a room. Chair rails are typically made of wood and come in various styles. They can be painted to match the wall color or treated differently for contrast. Chair rails are often paired with wainscoting to add character and protect walls. People use chair rails to enhance the aesthetics of their spaces and add architectural interest.
Does Chair Rail Make Room Smaller?
No, a chair rail does not make a room smaller. Chair rails are primarily used as a decorative element and to establish room proportions. They do not have a direct impact on the visual size of a room. However, the positioning of chair rails can create a visual effect that can make the room appear wider or taller depending on their placement. It’s important to note that the perception of room size can be influenced by various factors such as lighting, color, furniture arrangement, and overall design choices.
Are Chair Rails Outdated?
Chair rails are not considered outdated. While their practical function of protecting walls from furniture has diminished, chair rails are still used as decorative elements in interior design. They can help establish proportions in a room and create separate zones. Chair rails can be painted or stained, and their placement on the wall depends on the height of the room. Additionally, chair rails are often paired with wainscoting or used to complement the overall trim in a space. It’s important to note that design trends can evolve over time, so opinions on the popularity of chair rails may vary.
Conclusion
You’re now equipped to remove chair railings and prepare your walls for a fresh new look. Follow the step-by-step process, prioritize safety, and take time for a professional finish. With the chair railings gone, unleash your creativity and personalize your space. Good luck and happy decorating!

