Have you ever sat on a hard chair and wished for a cushion? You’re not alone! Making your chair pillows is a fun, practical project that can transform your seating experience. Whether you’re looking to spruce up dining chairs, create cozy floor cushions, or fashion the perfect pillow for sitting in bed, we’ve got you covered. Let’s dive into how to make a chair pillow and unlock your inner craftsperson!
Key Takeaways:
- Measure chair and add seam allowance before cutting foam and fabric
- Wrap foam in batting for softer feel
- Start with simple envelope cover, then try adding a zipper
- Tuft or pipe edges for fancy finish
- Use ties, Velcro or non-slip fabric to keep pillow in place
- Vacuum, spot clean and fluff regularly to maintain
Why Bother with Custom Chair Pillows?
Store-bought cushions can be pricey and often don’t quite fit the bill. By crafting your own, you’ll save money, get the exact style you want, and have the satisfaction of a job well done. Plus, it’s a great way to use up fabric scraps or give new life to old pillows.
Getting Started: Materials and Tools
Before we jump in, let’s gather our supplies. You’ll need:
- Fabric (upholstery-weight works best)
- High-density foam or memory foam
- Batting
- Scissors or an electric knife
- Sewing machine
- Thread
- Measuring tape
- Pins
- Marker or chalk
For more advanced projects, consider:
- Zipper (for a washable cover)
- Piping cord
- Button covering kit
6 Actionable Steps for How to Make a Chair Pillow
Here are six actionable steps for how to make a chair pillow:
1. Measuring Up: The Key to a Perfect Fit
Accurate measurements are crucial. Measure your chair seat, then add an inch all around for seam allowance. For example, if your seat is 16″ x 18″, cut your fabric 18″ x 20″. Don’t forget to account for the thickness of your foam when measuring the sides of box cushions.

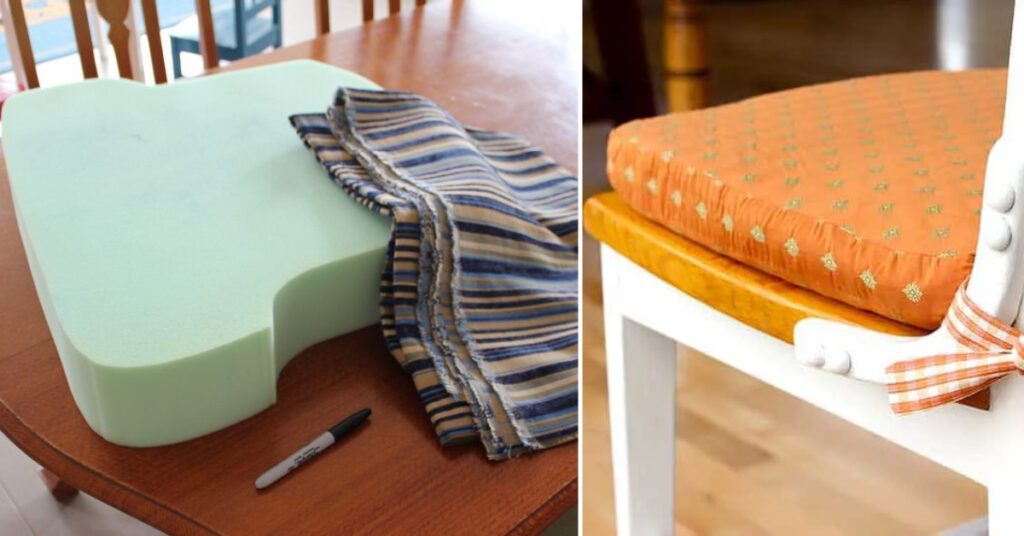
2. Cutting and Prepping: Setting the Stage
Now for the fun part! Cut your foam to size using sharp scissors or an electric knife. For a luxurious feel, wrap the foam in a layer of batting. This extra step makes your cushion softer and helps smooth out any imperfections in the foam.
Next, cut your fabric. If you’re using a patterned material, pay attention to pattern placement. You want your cushion to look good from all angles!
3. Sewing 101: Basic Cushion Cover
For beginners, let’s start with a simple envelope-style cover:
- Cut two pieces of fabric to your seat size plus seam allowance.
- Place the right sides together and sew around three sides.
- Turn right side out and insert your foam.
- Fold in the raw edges of the open side and hand stitch closed.
Voila! You’ve made your first chair pillow!
4. Leveling Up: Adding a Zipper
Want a washable cover? Adding a zipper is easier than you think:
- Cut your fabric into a top and bottom piece, plus a long strip for the sides.
- Sew the zipper into one of the long sides.
- Attach the side strip to the top and bottom pieces.
- Insert your foam and zip it up!
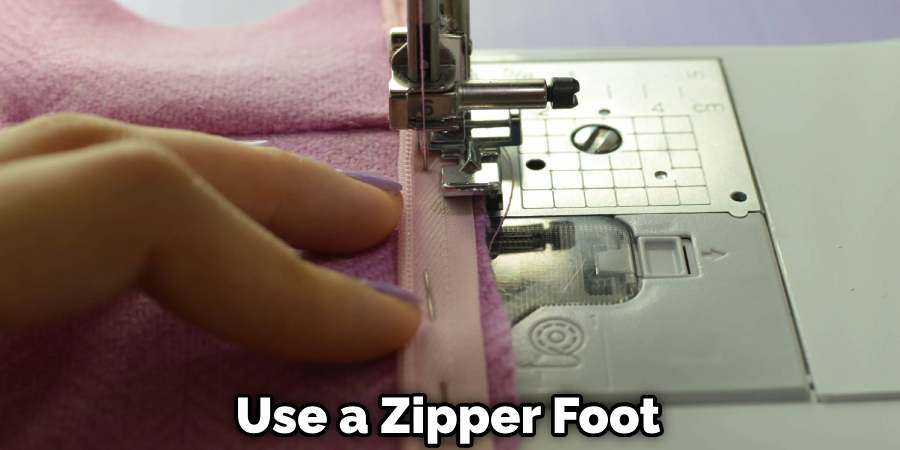
Pro Tip: Use a zipper foot on your sewing machine for smoother sailing.
5. Fancy Finishes: Tufting and Piping
Ready to take your chair pillows to the next level? Try tufting:
- Mark evenly spaced points on your foam.
- Use a long needle to sew through the entire cushion at each point.
- Attach covered buttons, pulling tight to create that classic tufted look.
For a polished edge, add piping. It’s a bit tricky but worth the effort for that professional finish.
6. Keeping It in Place: Attachment Methods
Nothing’s worse than a sliding cushion! Add ties to the back corners of your pillow and secure them to your chair. For a sleeker look, try velcro strips or a non-slip bottom fabric.
Troubleshooting Tips
- Uneven stuffing? Give your cushion a good fluffing or add extra batting to low spots.
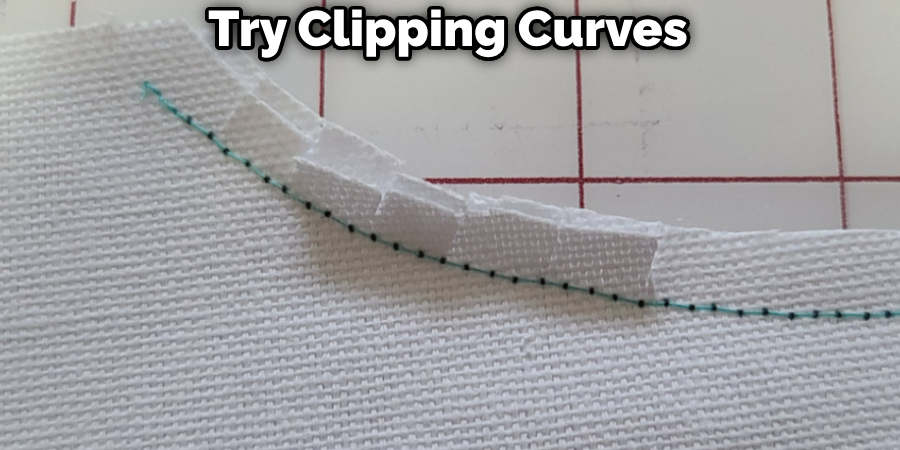
- Puckered seams? Try clipping curves and pressing seams open as you sew.
- Too flat? Layer different densities of foam for the perfect balance of support and squish.
Care and Feeding of Your New Cushions
To keep your creations looking fresh:
- Vacuum regularly to remove dust and crumbs.
- Spot clean spills immediately.
- For removable covers, wash according to fabric care instructions.
- Fluff and rotate cushions to maintain their shape.
Beyond Chair Pillows: Other Cozy Creations
Once you’ve mastered chair cushions, why stop there? Apply your new skills to:
- Floor cushions for extra seating
- Lumbar pillows for back support
- Bed chair pillows for comfy TV-watching
- Throw pillows to tie your decor together
FAQs About How to Make a Chair Pillow
What is a Chair Pillow Called?
A chair pillow is typically called a seat cushion or chair pad. These terms refer to cushions designed to be placed on chairs for added comfort and support.
How to Make Chair Pads Non-Slip?
To make chair pads non-slip, use non-slip rug pads, apply silicone caulk dots, or attach velcro strips to the bottom of the pad and chair seat. Alternatively, use double-sided carpet tape or sew rubber dots to the underside of the pad for better grip.
How to Make a Template for a Chair Cushion?
To make a chair cushion template, measure the chair seat, draw the shape on paper with added seam allowance, cut it out, and adjust it for a perfect fit. Test on the chair and transfer to sturdy material for a reusable template.
How to Make Outdoor Chair Cushions?
To make outdoor chair cushions, measure your chair, choose weather-resistant fabric, cut the fabric and foam, sew the cover, insert the foam, and finish by sewing the open end or adding a zipper. Optionally, add ties or Velcro to secure the cushion.
Wrap Up!
Remember, practice makes perfect. Don’t get discouraged if your first attempt isn’t catalogue-worthy. Each pillow you make will be better than the last!
We hope this guide has inspired you to get crafting. Your perfect chair pillow is just a few stitches away. Happy sewing!