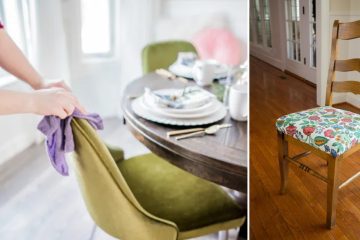
Do you have a wooden home chair that could use extra comfort? Adding a padded seat is an excellent way to enhance its functionality and aesthetic appeal. Installing a cushioned seat to your wooden chair allows you to transform an otherwise uncomfortable piece of furniture into a cozy and inviting resting spot. This step-by-step guide will walk you through how to add a padded seat to a wooden chair, ensuring you have all the materials, tools, and knowledge needed to complete the project easily. So let’s dive in and learn how to create a comfortable seating option for your home!
Key Takeaways:
- Gather materials like foam, fabric, batting, and tools before starting
- Carefully measure and cut foam to fit the chair seat
- Select durable, easy-to-clean fabric that matches your décor
- Securely attach foam and fabric to the chair using adhesive and a staple gun
- Optional: Add ties or straps for a removable, extra-stable cushion
- Regularly clean and maintain the padded seat to ensure longevity
5 Easy Step-by-Step Guide for How to Add a Padded Seat to a Wooden Chair
Here are the five steps you’ll follow to add a padded seat to a wooden chair:
Materials and Tools You Will Need
Before you begin the project of adding a padded seat to your wooden chair, gather the following materials and tools to ensure a smooth and efficient process:
- Foam cushion: Choose a high-density foam that provides support and comfort. The thickness of the foam will depend on your preferred level of cushioning.
- Fabric: Select a durable, easy-to-clean fabric matching your chair’s design and home decor. Upholstery fabric, canvas, or outdoor fabric are popular choices.
- Batting: Polyester or cotton batting will cover the foam cushion, providing a smooth and even surface for the fabric.
- Measuring tape or ruler: To measure the dimensions of the chair seat and foam cushion, ensuring a proper fit.
- Marker or pencil: For marking measurements on the foam and fabric.
- Scissors or utility knife: Cut the foam cushion and fabric to size.
- Staple gun and staples: For attaching the fabric to the underside of the wooden chair seat.
- Screwdriver or drill: To remove and reattach the chair seat if necessary.
- Optional: Needle and thread or sewing machine – If you plan to add ties or straps to secure the cushion to the chair.
With these materials and tools, you’ll be well-prepared to add a cushioned seat to your wooden chair, improving its comfort and functionality.

Step 1: Measuring and Cutting the Foam Cushion
Once you have gathered all the necessary materials and tools, it’s time to measure and cut the foam cushion for your wooden chair. Follow these steps to ensure a proper fit:
- First, measure the dimensions of the chair seat using the measuring tape or ruler. Be sure to measure both the width and depth of the seat and any curves or angles that might affect the cushion’s shape.
- Using the dimensions you gathered in Step 1, mark the foam using a marker or pencil. Adding an extra 1/4 inch on all sides is a good idea to ensure a snug fit. If your chair seat has curves or angles, trace those as well.
- Carefully cut along the marked lines on the foam cushion with a pair of sharp scissors or a utility knife. Ensure your cuts are clean and even, as uneven edges may be noticeable once the cushion is covered with fabric.
- Place the cut foam cushion on the chair seat to check for a proper fit. Make any necessary adjustments to the foam’s shape or size until you have achieved the desired fit.
After completing these steps, you should have a foam cushion that is the correct size and shape for your wooden chair seat. Next, we will move on to selecting and cutting the fabric.
Step 2: Selecting the Right Fabric for Your Padded Seat
When choosing a fabric for your padded seat, it’s essential to consider factors such as durability, ease of cleaning, and overall design. Follow these tips to select the perfect fabric for your project:
- Consider the chair’s use: If the chair will be used frequently or in a high-traffic area, opt for a fabric with high durability and resistance to wear and tear. Upholstery, canvas, and outdoor fabric are excellent choices for heavy use.
- Think about cleaning: For chairs that may be exposed to spills, stains, or dirt, choose a fabric that is easy to clean and maintain. Look for fabrics with stain-resistant or washable properties to ensure your padded seat remains fresh and clean.
- Match your home decor: Select a fabric that complements the design of your wooden chair and fits well with the overall aesthetic of your home. Consider coordinating the fabric’s color, pattern, and texture with other elements in the room to create a cohesive look.
- Measure your foam cushion: Before you purchase your fabric, measure the dimensions of your foam cushion, accounting for the thickness of the foam as well. This will help you determine how much fabric you’ll need to cover the cushion and wrap around the edges for stapling.
- Don’t forget the batting: Purchase enough batting to cover the foam cushion in addition to the fabric. Batting will create a smooth and even surface between the foam and the fabric, preventing any lumps or unevenness from showing through.
After considering these factors and selecting the right fabric for your padded seat project, you can move on to cutting the fabric and assembling the cushion.
Step 3: Attaching the Foam Cushion to the Wooden Chair
Once you have the foam cushion and fabric cut to the correct size and shape, it’s time to attach the cushion to the wooden chair. Follow these steps to secure the foam cushion in place:
- Prepare the chair: Begin by removing any existing cushion or upholstery from the chair seat. Clean the wooden surface to ensure no dirt or debris could interfere with the adhesion of the foam cushion.
- Attach the foam cushion: Apply a layer of spray adhesive or double-sided tape to the wooden chair seat. Carefully place the foam cushion on the seat, aligning it with the edges and corners of the chair. Press firmly to ensure a strong bond between the foam and the wooden surface. Allow the adhesive to dry according to the manufacturer’s instructions before proceeding.
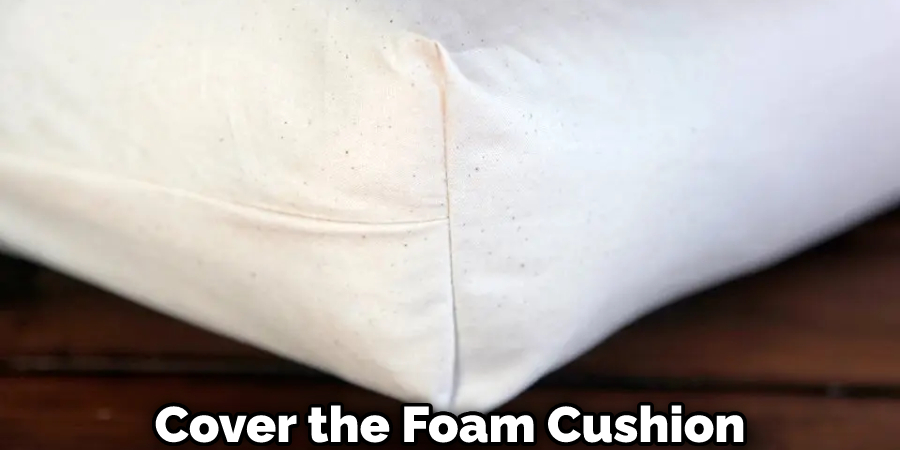
- Cover the foam with batting (optional): If you’re using batting to provide a smooth surface between the foam and fabric, cut a piece of batting large enough to cover the foam cushion and wrap it around the edges of the seat. Place the batting over the foam and secure it to the underside of the chair using a staple gun, pulling the batting taut as you staple.
- Attach the fabric: Lay the fabric on a flat surface with the right side facing down. Place the chair seat (with the foam cushion and batting attached) face down onto the fabric. Starting at the center of one side, pull the fabric up and over the edge of the chair seat and staple it to the underside of the seat. Repeat this process on all sides, pulling the fabric taut as you staple. Be sure to fold and tuck the fabric neatly at the corners before stapling to create a professional appearance.
- Trim excess fabric and batting: Use scissors to trim any excess fabric or batting from the underside of the chair seat. This will help prevent lumps or bumps from forming under the seat when reassembling.
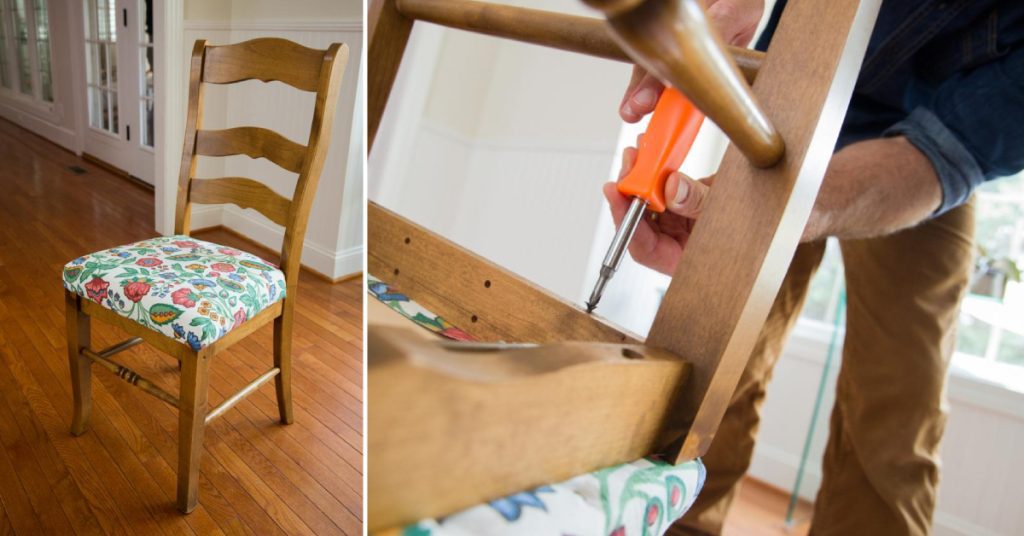
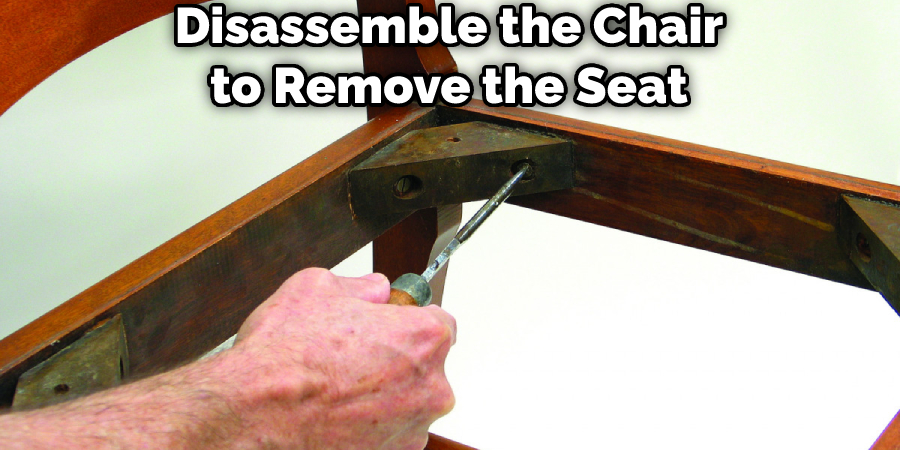
- Reassemble the chair (if needed): If you had to disassemble the chair to remove the seat, now is the time to reattach the seat to the chair frame. Follow the chair’s assembly instructions to ensure a secure fit.
After completing these steps, your wooden chair should have a comfortable and stylish foam cushion securely attached to the seat.
Step 4: Adding Fabric and Securing It in Place
After attaching the foam cushion to the wooden chair, it’s time to add the fabric and secure it in place. Here’s a step-by-step guide to help you accomplish this:
- Position the fabric: Lay the fabric on a flat surface with the right side (the side with the design) facing down. Place the chair seat (with the foam cushion and batting attached, if applicable) face down onto the fabric, aligning the seat with the fabric’s pattern or design as desired.
- Staple the fabric: Starting at the center of one side, pull the fabric up and over the edge of the chair seat, ensuring it is taut but not overly stretched. Staple the fabric to the underside of the seat using a staple gun. Repeat this process on the opposite side, pulling the fabric tight as you staple. Continue stapling the fabric to the underside of the chair seat, working your way around the seat, and alternating sides to maintain even tension.
- Fold and tuck the corners: When you reach the corners of the chair seat, fold and tuck the fabric neatly to create a smooth, professional appearance. One common method is to create a hospital corner, similar to folding a bedsheet. This involves folding the fabric at a 45-degree angle, tucking the excess fabric underneath, and then folding it back towards the corner before stapling it in place.
- Secure the corners: Once the fabric is neatly folded and tucked at the corners, staple it securely to the underside of the chair seat. Use enough staples to prevent the fabric from coming loose over time, especially in areas where the fabric may experience additional tension or wear.
- Trim excess fabric: After the fabric has been securely stapled, use scissors to trim any excess fabric from the underside of the chair seat. Be careful not to cut too close to the staples, as this may cause the fabric to fray or come loose over time.
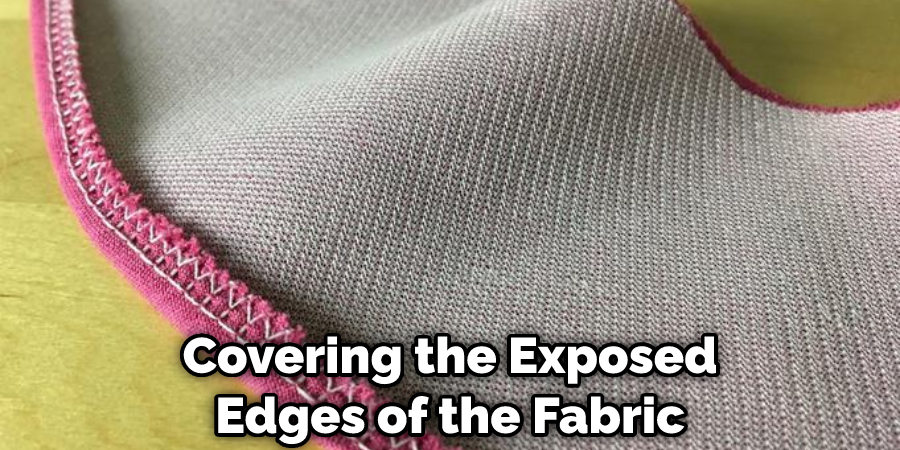
- Optional – Add a dust cover: If you’d like to give your chair a polished look or protect the underside of the seat from dust, cut a piece of black cambric fabric (or another lightweight fabric) to size and staple it to the underside of the chair seat, covering the exposed edges of the fabric and batting.
With the fabric now securely in place, your padded seat is complete! Enjoy the added comfort and style of your newly upholstered chair.
Step 5: Adding Ties or Straps for Extra Stability (Optional)
If you want to provide additional stability to your chair cushion, especially for removable cushions, you can add ties or straps to keep it securely in place. Here’s a guide on how to add ties or straps for extra stability:
- Select the appropriate material: Choose a durable material for your ties or straps, such as fabric, twill tape, or ribbon. Make sure the material is strong enough to withstand regular use and matches the style of your chair and cushion.
- Measure and cut: Determine the length of the ties or straps needed to secure the cushion in place. Consider factors such as the thickness of the chair back or the distance between attachment points. Cut the material to the desired length, leaving an additional 1-2 inches for knotting or sewing. If possible, seal the ends of the material with a lighter or fray-check solution to prevent fraying.
- Attach the ties or straps: For removable cushions, you can sew the ties or straps directly to the corners or sides of the cushion. Ensure they are securely stitched by hand or with a sewing machine. For non-removable cushions, you may need to attach the ties or straps before stapling the fabric onto the chair seat, ensuring they are placed between the layers of fabric and cushion. Staple the ties or straps in place, leaving enough length to wrap around the chair frame and secure the cushion.
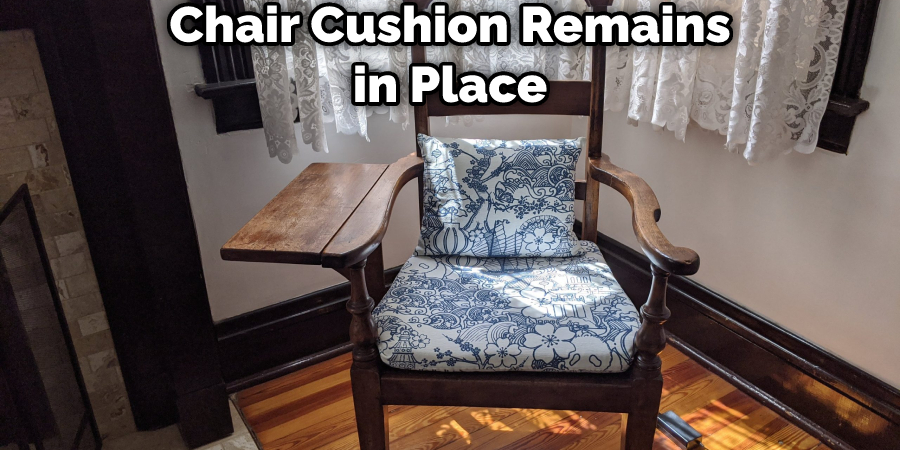
- Secure the cushion: With the ties or straps attached, position the cushion on the chair by tying the straps to the chair frame or fastening them with buckles, snaps, or hook-and-loop tape. Ensure the cushion is snug and stable, but avoid overtightening the ties or straps, as this could cause damage to both the cushion and the chair frame.
Adding ties or straps for extra stability is an excellent way to ensure your chair cushion remains in place, providing comfort and durability. Plus, it adds a functional and stylish touch to your chair design.
You Can Check It Out to Fold Chicco Portable High Chair
7 Tips for Maintaining Your Padded Seat
Proper maintenance is essential for prolonging the life of your padded seat and keeping it looking fresh and attractive. Here are some tips to help you maintain your upholstered chair and enjoy its comfort for years to come:
- Regular cleaning: Vacuum your padded seat using a brush attachment to remove dust, dirt, and debris. This prevents the buildup of dust mites and allergens while maintaining the fabric’s appearance.
- Spot cleaning: Use a clean, damp cloth or sponge to address spills and stains immediately. Blot the spill gently without rubbing, and follow the fabric manufacturer’s recommended cleaning method for specific stains. Avoid harsh chemicals, which may damage the fabric or cause color fading.
- Deep cleaning: Depending on the type of fabric and usage, it may be necessary to clean your chair cushion deep periodically. Consider professional upholstery cleaning or use a steam cleaner designed for upholstery, following the manufacturer’s instructions. Always test any cleaning solution on a small, inconspicuous area first to ensure it doesn’t damage the fabric.
- Rotate and flip cushions: If your chair has a removable cushion, rotate and flip it regularly to distribute wear evenly and prevent indentations or sag. This can help maintain the cushion’s shape and prolong its life.
- Protect from sunlight: Prolonged exposure to direct sunlight can cause fading and damage to the fabric. Position your chair away from direct sunlight or use window coverings to minimize sun exposure and protect your padded seat.
- Address loose threads and fraying: Check your upholstered chair regularly for loose threads, fraying, or damage. Trim any loose threads and, if necessary, repair any damage promptly to prevent further deterioration.
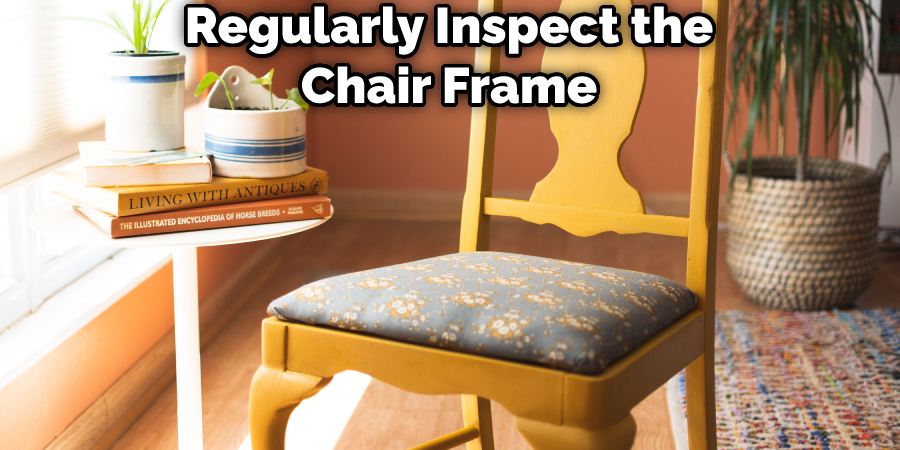
- Inspect and tighten fittings: Regularly inspect the chair frame and any ties or straps for signs of wear or damage. Tighten any loose screws or bolts, and replace or repair damaged components to ensure the chair remains stable and safe.
By following these maintenance tips, you can help preserve the appearance and functionality of your padded seat, ensuring your upholstered chair remains a comfortable and attractive addition to your home for years to come.
You Can Check It Out to Fix Wicker Chair Seat.
FAQs About How to Add a Padded Seat to a Wooden Chair
How Do You Put a Cushion on a Wooden Seat?
A cushion to a wooden seat can significantly enhance comfort and make your seating more visually appealing. To put a cushion on a wooden seat, follow these steps: measure your seat, select a cushion, attach the cushion, and maintain the cushion. Following these steps, you can transform your wooden seat into a comfortable and stylish seating option that lasts for years.
Can I Add Padding to a Wooden Chair?
Yes, you can add padding to a wooden chair. There are several ways to do this, including fabric, foam, polyester, a glue stapler, or other helping tools. It takes around 5 to 7 hours to add the padded seats appropriately. Reupholstering a chair, including removing the padding, inspecting the seat, cutting foam, and stapling the fabric. Using cotton, high-density medium foam, and fabric clothing to wrap everything to the chair.
How Can I Make My Wooden Chair More Comfortable?
Making a wooden chair more comfortable can greatly improve your seating experience. Here are several ways to enhance the comfort of your wooden chair: add cushions or padding, adjust the chair’s ergonomics, use a footrest, opt for an outdoor-friendly chair, choose the right material, and keep it clean. By implementing these suggestions, you can create a more comfortable seating experience with your wooden chair. Regular maintenance and thoughtful additions will help prolong the chair’s life and provide a more enjoyable seating experience.
You Can Check It Out to Make a Chair Pillow.
Conclusion: Enjoy Your New Comfortable Seating
You can enjoy your new comfortable seating with your upholstered chair cushion properly maintained and secured. Investing time and effort in creating, attaching, and maintaining your padded seat will be a stylish and cozy addition to your home. Whether it’s for relaxation, conversation, or dining, the enhanced comfort of your chair will undoubtedly enhance your overall experience.
Remember to follow the provided tips to keep your chair cushion in excellent condition, ensuring its longevity and attractiveness for years to come. Don’t be afraid to experiment with different fabrics, colors, and styles to create a unique and personalized touch that suits your taste and complements your home décor. Embrace the satisfaction of creating a comfortable and functional space you and your guests will enjoy.