If you’re the proud owner of a rocking chair, you know how important it is to have comfortable cushions to enhance your sitting experience. Whether you’re looking to update an old rocking chair or make a new one more cozy, creating custom cushions can be fun and rewarding. In this comprehensive DIY guide, we’ll walk you through the process of how to make rocking chair cushions step by step. From selecting the right materials to sewing and attaching the cushions, we’ve got you covered. So let’s dive in and get started!
10 Easy Steps for How to Make Rocking Chair Cushions
Here are the 10 easy steps to making rocking chair cushions:
Materials You’ll Need:
Before we begin, let’s gather all the necessary materials for making your rocking chair cushions. Here’s a list of what you’ll need:
- Upholstery fabric: Choose a material that suits your style and complements your rocking chair.
- Upholstery foam: Measure the dimensions of your chair seat and back to determine the appropriate size of the foam.
- Batting (optional): If you prefer a fuller look and extra comfort, consider adding batting to your cushions.
- Scissors: A good pair of fabric scissors will come in handy for cutting the fabric and foam.
- Sewing machine and thread: You’ll need a sewing machine and matching thread for stitching the cushions.
- Zipper (optional): If you want removable cushions for easy cleaning, include a zipper in your materials list.
- Measuring tape, ruler, and marking pen: These tools will help you accurately measure and mark your fabric.
- Pins: Use pins to hold fabric pieces together during sewing.
- Iron and ironing board: Ironing your fabric will ensure smooth and wrinkle-free cushions.
- Hand sewing needle and thread: You’ll need these for hand stitching or finishing touches.
With all your materials ready, let’s move on to the step-by-step instructions for making your rocking chair cushions.
Step 1: Measure and Cut the Fabric
The first step in creating your rocking chair cushions is to measure your chair seat and back. You can use a measuring tape to determine the dimensions or create a template by placing a piece of paper on the seat and tracing its outline. Add a few inches to the measurements to account for seam allowances and a plumper cushion.
Once you have your measurements, transfer them onto your upholstery fabric. Use a ruler and marking pen to draw the desired shape for your cushion. If your chair has a curved or rounded seat, you may need to make adjustments to ensure a snug fit. Cut out the fabric pieces according to your measurements, making sure to have a front and back piece for each cushion.
Step 2: Cut the Foam
Next, it’s time to cut the upholstery foam for your rocking chair cushions. Measure the seat and back dimensions you obtained earlier and mark them on the foam using a permanent marker. Carefully cut along the marked lines using sharp scissors or a utility knife. Take your time to ensure clean and straight cuts.
If you prefer a plusher cushion, you can add an extra layer of batting to the foam. Cut the batting to the same dimensions as the foam and attach it using a spray adhesive. This will give your cushions a softer and more luxurious feel.
Step 3: Prepare the Batting (Optional)
If you’ve opted for batting, it’s time to prepare it for your cushions. Lay out the batting and place the foam on top. Cut the batting to be slightly larger than the foam, allowing it to wrap around the edges. Fold the excess batting over the foam and use a sewing machine to stitch it closed. This will encase the foam and create a plump and cushiony layer.
Step 4: Sew the Cushion Covers
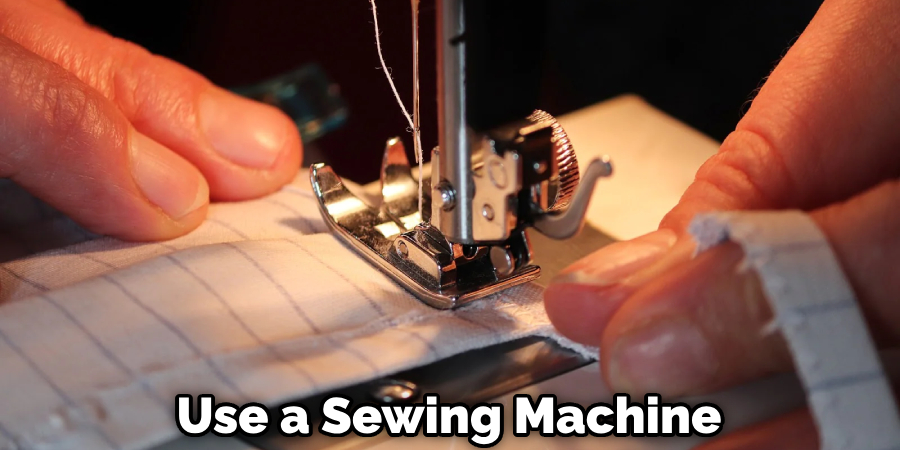
Now it’s time to sew the fabric pieces together to create the cushion covers. Start with the seat cushion. Place the front and back fabric pieces together, right sides facing each other. Pin them in place to prevent shifting during sewing. Using a sewing machine, sew around the edges, leaving a small opening for turning the cover right side out.
Repeat the same process for the back cushion covers. Remember to leave a small opening for turning. Once you’re sewed, trim any excess fabric and clip the corners to reduce bulk. This will help the cushions maintain their shape when turned right side out.
Step 5: Turn the Covers Right Side Out
Carefully turn the cushion covers right side out through the openings you left. Gently push out the corners using a blunt object such as a knitting needle or chopstick. Use your fingers to smooth out any wrinkles or creases in the fabric. If necessary, you can iron the covers in a low heat setting to eliminate any remaining wrinkles.
Step 6: Insert the Foam and Batting (If Used)
Now that your cushion covers are ready, it’s time to insert the foam and batting (if used). Take the foam pieces and slide them into the cushion covers. Adjust them as needed to ensure a snug fit. If you added batting, make sure it is positioned evenly around the foam.
Step 7: Close the Openings
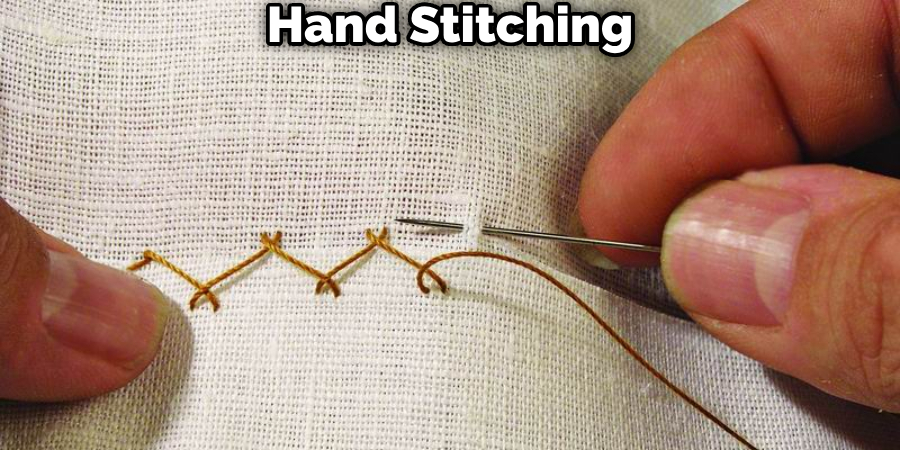
With the foam securely in place, it’s time to close the openings in the cushion covers. You can either hand stitch them closed using a needle and thread or use a sewing machine to sew a straight stitch along the openings. Make sure to reinforce the stitches at the beginning and end to prevent unraveling.
Step 8: Attach Zippers (Optional)
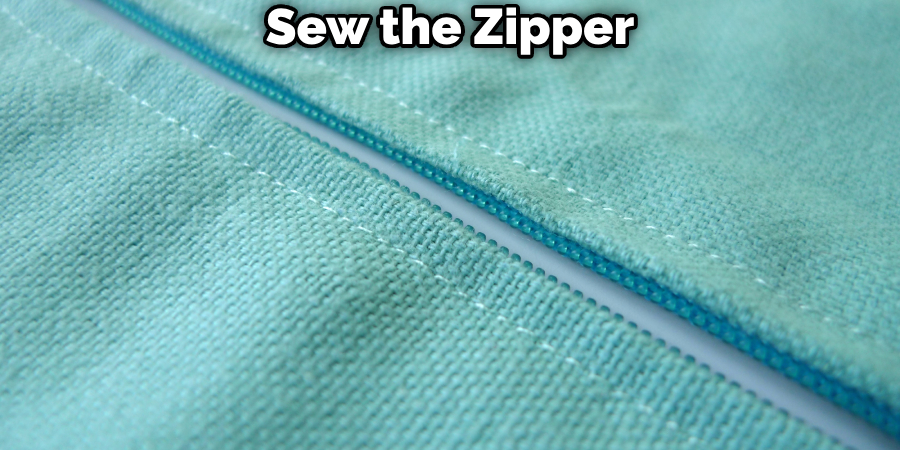
If you opted for removable cushion covers, you can add zippers to make them easy to take off and wash. Measure the length of the opening in your cushion cover and select a zipper that matches the size. Sew the zipper onto the opening, following the instructions provided with the zipper. This will allow you to easily remove and replace the cushion covers whenever needed.
Step 9: Add Ties (Optional)
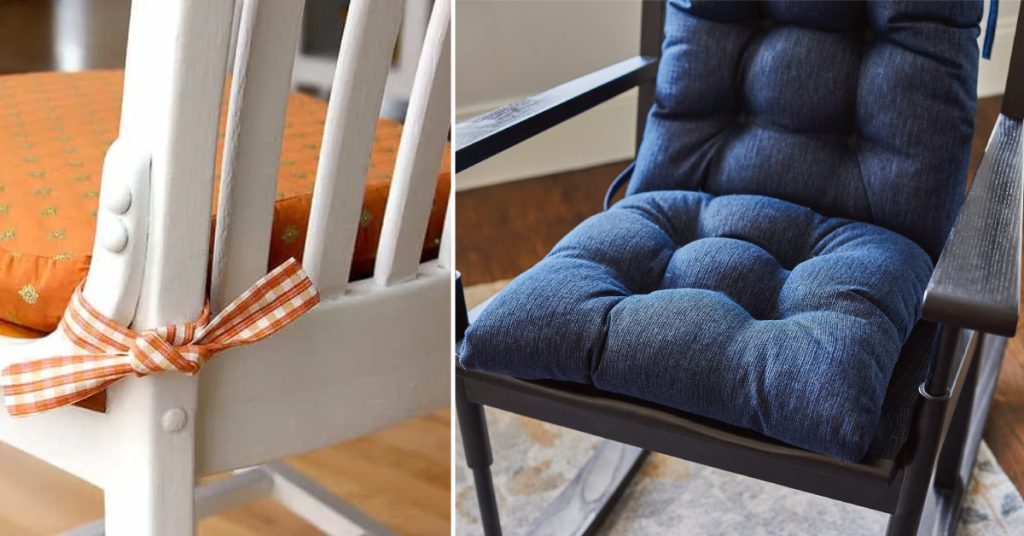
To keep your rocking chair cushions in place, you can add ties to the corners or back of the cushions. Cut strips of fabric or use ribbon to create the ties. Sew them onto the cushions, making sure they are securely attached. You can also sew buttons onto the cushions and create corresponding buttonholes on your rocking chair for a more decorative touch.
Step 10: Enjoy Your New Rocking Chair Cushions
Congratulations! You’ve successfully made your rocking chair cushions. Place them on your rocking chair and enjoy the added comfort and style they bring to your space. Sit back, relax, and rock away in your newly revamped rocking chair.
You Can Check It Out to Make a Chair Cushion With Foam.
5 Additional Information on How to Make Rocking Chair Cushions
Here are some additional information that you may find useful for making your rocking chair cushions:
- When selecting upholstery fabric, consider durability and ease of cleaning. Opt for fabrics that are stain-resistant and can withstand regular use.
- If you’re not confident in your sewing skills, you can always seek guidance from online tutorials or take a sewing class to improve your technique.
- Experiment with different fabric patterns and colors to add a personal touch to your rocking chair cushions. Don’t be afraid to mix and match fabrics for a unique look.
- Remember to measure your rocking chair carefully to ensure your cushions fit properly. Take into account any curves or angles in the chair seat and back when cutting your fabric and foam.
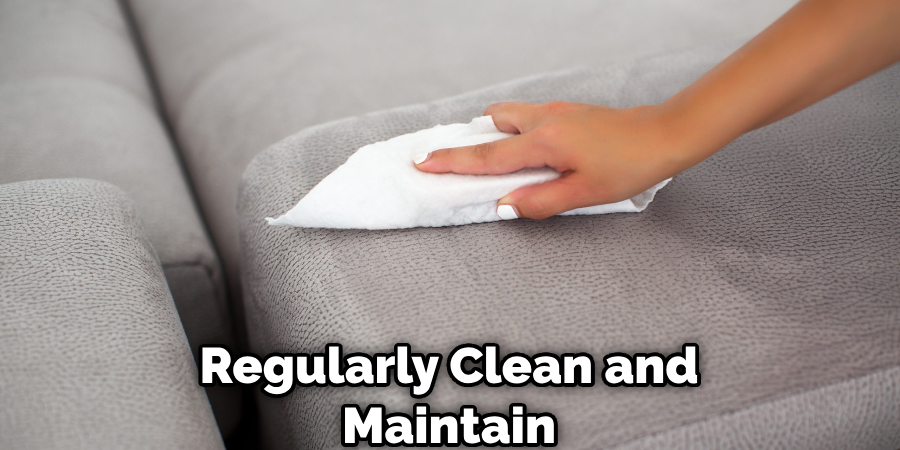
- Regularly clean and maintain your rocking chair cushions to prolong their lifespan. Follow the manufacturer’s instructions for cleaning the fabric and foam, and spot-clean any spills or stains promptly to prevent permanent damage.
FAQs About How to Make Rocking Chair Cushions
What is the Best Material to Use for Outdoor Cushions?
The best material to use for outdoor cushions is Sunbrella fabric. Sunbrella cushions are highly regarded as the best outdoor cushions due to their exceptional quality and durability. Sunbrella fabric is fade-resistant, waterproof, and resistant to mold and mildew. It is also safe for chlorine, making it ideal for poolside or beachside use. Sunbrella cushions are made with marine-grade fabrics, ensuring their longevity and ability to withstand outdoor conditions. Additionally, Sunbrella cushions are held together by Tenara Sewing Thread and filled with Dacron cushions, both of which are high-quality materials.
What Makes a Comfortable Cushion?
A comfortable cushion provides adequate support and plushness while maintaining its shape. The comfort of a cushion depends on factors such as the filling material, the density of the filling, and the cushion’s overall construction. High-quality outdoor cushions often use materials like foam or polyester fiberfill for optimal comfort. Foam cushions offer excellent support and bounce-back ability, while fiberfill cushions are softer and more plush. The cushion’s thickness and size also play a role in comfort, as they determine the level of cushioning and support provided. Ultimately, the comfort of a cushion is subjective and can vary based on individual preferences.
What Are Chair Cushions Made of?
Chair cushions can be made of various materials, depending on their intended use and desired comfort level. Common materials used for chair cushions include foam, fiberfill, and down. Foam cushions offer excellent support and bounce-back ability, making them ideal for chairs that require more firmness. Fiberfill cushions, on the other hand, are softer and more plush, providing a cozy and comfortable feel. Down cushions are known for their luxurious softness and are often used in high-end furniture. Additionally, chair cushions can be covered with fabrics such as cotton, polyester, or Sunbrella fabric, which is known for its durability and resistance to fading, water, mold, and mildew.
Conclusion
Making your rocking chair cushions is a rewarding and satisfying DIY project. By following these step-by-step instructions, you can create custom cushions that fit your rocking chair perfectly. Whether you prefer a plush and padded cushion or a sleek and minimalistic design, the choice is yours. So gather your materials, unleash your creativity, and get ready to transform your rocking chair into a cozy and inviting seat. Happy sewing!

