Are you looking to add a touch of elegance and protection to your walls with a chair rail? Don’t worry if you don’t have a nail gun because we’ve got you covered! This guide shows you how to install a chair rail without a nail gun. You’ll learn alternative methods that are easy, cost-effective, and safe. Get ready to transform your space and create a stunning visual impact with a chair rail installation that you can confidently tackle independently. Let’s explore how to install chair rail without a nail gun and unlock the potential of your walls!
Understanding Chair Rail
A chair rail is a horizontal molding installed on walls, typically placed 32 to 40 inches from the floor. Its main job is to protect walls from damage caused by chairs, like scuffs and dents. But it’s not just functional; it adds style and charm to a room. With various materials and techniques available, you can find the perfect chair rail to match your decor.
Installing a chair rail can make your space look more elegant and visually appealing. It breaks up large wall areas, adds texture, and can be a focal point. From dining rooms to living areas, hallways, and bedrooms, chair rails can be installed in different parts of your home.
Now that we know what a chair rail is and why it’s beneficial, let’s explore how to install chair rail without a nail gun.
2 Effective Methods for How to Install Chair Rail Without a Nail Gun
Method 1: Click-System Connector
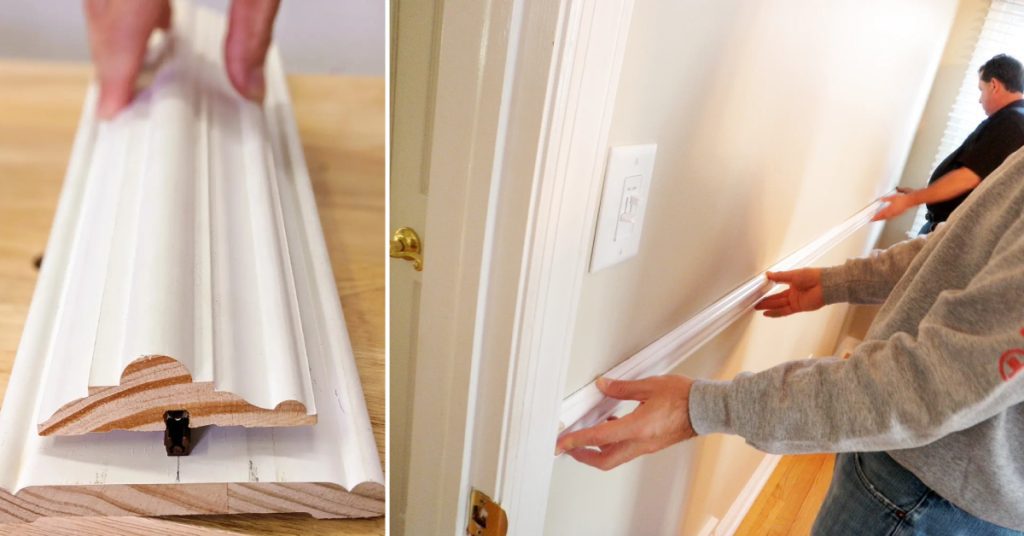
A click-system connector is an alternative method for installing a chair rail without a nail gun. Look for connectors like sKLICK that feature a dovetail groove on the chair rail molding. Secure the molding using screws and the click-system connector, which provides a robust and reliable connection.
Method 2: Construction-Grade Adhesive
Another option is to use construction-grade adhesive to attach the chair rail to the wall. Apply the glue to the back of the chair rail and press it firmly against the wall. For added security, it’s recommended to combine adhesive with finished nails. This combination ensures a more secure installation and minimizes the risk of the chair rail coming loose over time.
Additional Tips
A few key steps exist when installing a chair rail without a nail gun. Begin by taking safety precautions and preparing the wall surface. Measure and mark the desired height for the chair rail, ensuring it is level. Cut the chair rail to fit the length of the wall and sand any rough edges. Apply adhesive to the back of the chair rail and press it onto the wall, using a level to ensure it remains straight. If desired, use finished nails to provide extra reinforcement and stability.
Utilizing these alternative methods allows you to install a chair rail without needing a nail gun. It’s essential to choose the best way for your project and follow proper installation techniques for a fast and visually appealing result.
9 Easy Step-by-Step Guide for How to Install Chair Rail Without a Nail Gun
Gather the Necessary Materials
Before you begin the installation process, ensure you have all the required materials. These may include the chair rail molding, measuring tape, level, saw, sandpaper, construction-grade adhesive, screws, click-system connector (if applicable), and finish nails.
Step 1: Prepare the Wall
Start by preparing the wall surface where the chair rail will be installed. Ensure the wall is clean and free of any debris or dust. If needed, patch and repair any imperfections on the wall surface.
Step 2: Measure and Mark the Height
Use a measuring tape and level to determine the desired height for the chair rail. Typically, it is installed between 32 to 40 inches from the floor. Mark the measurement at various points along the wall to ensure accuracy.
Step 3: Cut the Chair Rail
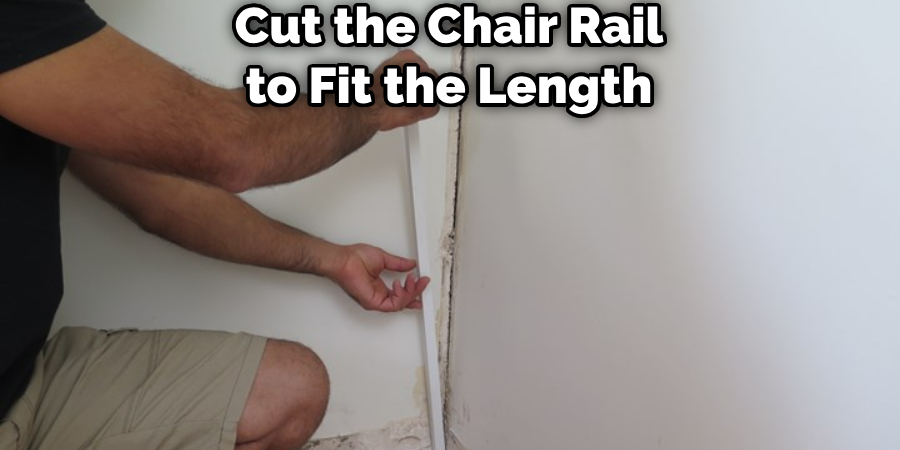
Measure the length of the wall where the chair rail will be installed. Carefully cut the chair rail molding to the appropriate size using a saw. Take precise measurements and make straight cuts for a seamless installation.
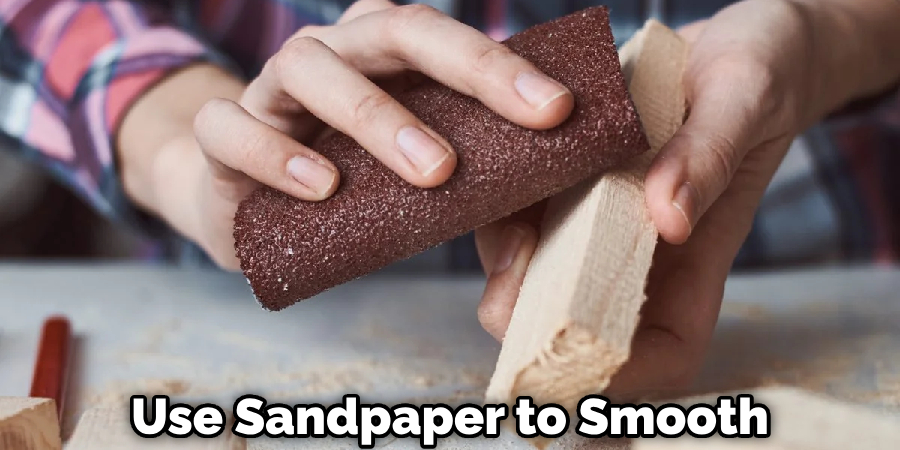
Step 4: Sand the Edges
After cutting the chair rail, use sandpaper to smooth out any rough edges or imperfections. This step ensures a clean and professional finish.
Step 5: Apply Adhesive or Click-system Connector
Applying construction-grade adhesive to the back of the chair rail molding depends on your chosen method. Alternatively, if using a click-system connector, follow the manufacturer’s instructions to attach it to the molding. Ensure proper coverage or alignment for a secure installation.
Step 6: Position and Press the Chair Rail
Carefully position the chair rail on the marked height line. Press it firmly against the wall, ensuring it is level and straight. If using a click-system connector, align it with the corresponding groove on the wall. Apply even pressure to secure the molding in place.
Step 7: Secure With Screws or Finish Nails (Optional)
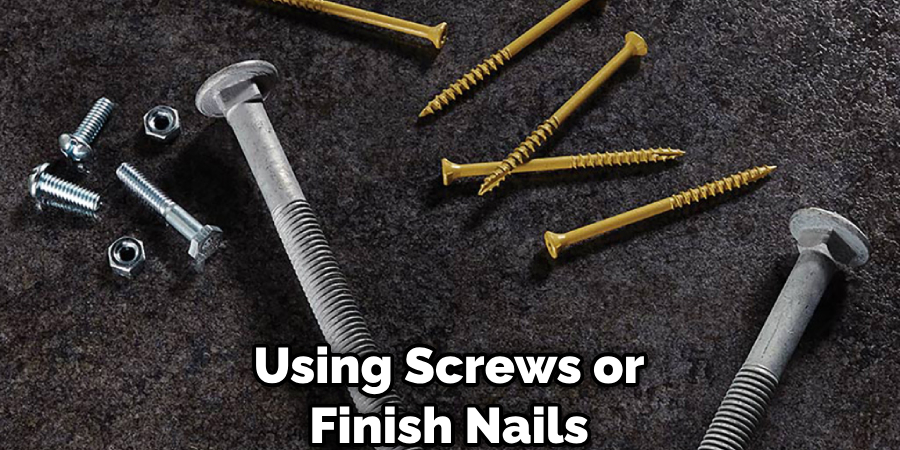
If desired, reinforce the chair rail by using screws or finish nails. Place them strategically along the chair rail to provide extra stability and support. Ensure they are countersunk and fill the holes with wood filler for a seamless appearance.
Step 8: Finishing Touches
Once the chair rail is securely installed, inspect the entire length for any gaps or unevenness. Use caulk or wood filler to fill gaps between the chair rail and the wall. Sand any excess filler and touch it with paint or stain to match the chair rail.
Step 9: Enjoy Your Newly Installed Chair Rail
Step back and admire your work! Your room now has a beautiful and functional chair rail that adds character and protects the walls from damage.

Following these step-by-step instructions, you can install a chair rail without a nail gun. Remember to work carefully, take proper measurements, and prioritize safety throughout the installation.
You Can Check It Out to Remove Chair Railing
10 Additional Considerations and Tips for Installing Chair Rail Without a Nail Gun
1. Safety First
Always prioritize safety when working on any home improvement project. Wear protective gear, such as safety glasses and gloves, to prevent injuries.
2. Choose the Suitable Adhesive
Select a construction-grade adhesive for attaching chair rail molding to the wall surface. Read and follow the manufacturer’s instructions for proper application and drying time.
3. Test the Adhesive
Before applying the glue to the chair rail, make a test application on a small section of the molding to ensure it adheres appropriately and holds securely.
4. Use a Level
Throughout the installation process, use a level to ensure that the chair rail is straight and aligned correctly. This will help create a professional-looking installation.
5. Consider Using Screws or Finished Nails
While not necessary, using screws or finish nails in addition to adhesive can provide extra reinforcement and stability to the chair rail. This is especially useful in high-traffic areas or if the chair rail will be subjected to frequent impacts.
6. Pre-drill Holes for Screws
If you choose to use screws to secure the chair rail, pre-drill small pilot holes to prevent the wood from splitting and ensure accurate placement of the screws.
7. Allow for Expansion and Contraction
Wood chair rail moldings may expand or contract with changes in humidity. To accommodate this, leave a small gap between the ends of the chair rail and the adjacent walls, and do not apply excessive pressure during installation.
8. Consider Using a Click-system Connector
If you prefer a tool-free installation method, explore using a click-system connector designed for chair rail moldings. These connectors provide a secure and hidden attachment system.
9. Customize the Chair Rail
Get creative with your chair rail installation by adding decorative elements such as picture frame designs or additional moldings beneath the chair rail. This can enhance the visual appeal and create a unique look.
10. Take Your Time and Measure Twice
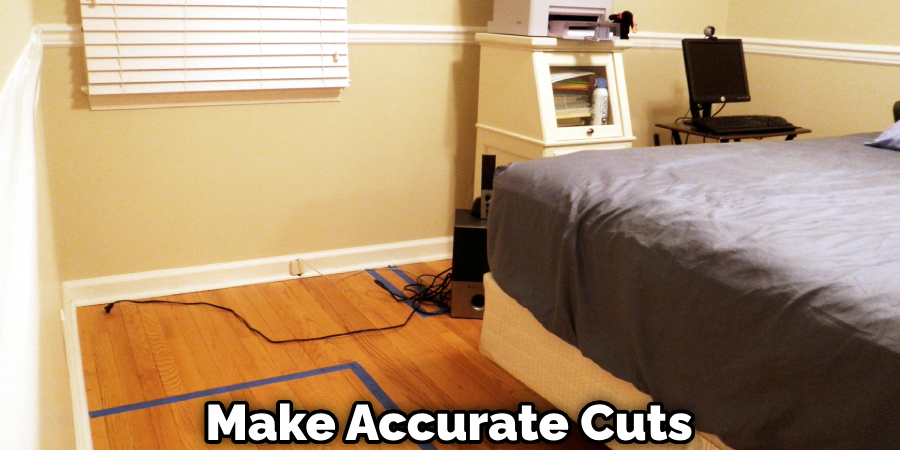
Precision is critical when installing a chair rail without a nail gun. Double-check your measurements and make accurate cuts to ensure a seamless fit. Take your time during each process step to achieve the best results.
Considering these additional tips and recommendations, you can enhance the installation process and achieve a professional-looking chair rail without using a nail gun. Enjoy the process and take pride in your completed project!
FAQs About How to Install Chair Rail Without a Nail Gun
Can You Glue Chair Rail?
Yes, you can glue chair rail molding instead of using nails. Gluing chair rail molding is an alternative method of installation that offers a fast and visually appealing result. By applying construction-grade adhesive to the back of the molding, you can firmly attach it to the wall.
Should I Glue Chair Rail to Wall?
Yes, you should glue the chair rails in many circumstances. Chair rail is often glued to walls, ceilings, or floors to provide structural support. Glue prevents the chair rail from becoming loose and helps keep the rail secure and stable. You can also spread wood glue on one of the ends before nailing the chair railing pieces to the wall.
Can I Install Chair Rail Myself?
Yes, you can install a chair rail with simple tools. The original purpose of a chair rail was to guard the wall against damage from the backs of chairs, but a chair rail can also lend definition and elegance to a space. You can install it without a nail gun using wall adhesive or caulk and finishing nails.
Conclusion
Installing a chair rail without a nail gun is a viable and rewarding project that can enhance the beauty of your home. By using alternative methods like adhesive or screws, you can achieve a secure and visually pleasing installation. Remember to prioritize safety, choose suitable materials, and follow the step-by-step process carefully. With accurate measurements and attention to detail, you’ll create a stunning chair rail that adds charm to your walls. Embrace the opportunity to showcase your DIY skills and enjoy the transformative impact of chair rail molding. Get started and create a stylish space you’ll love. Happy installing!

