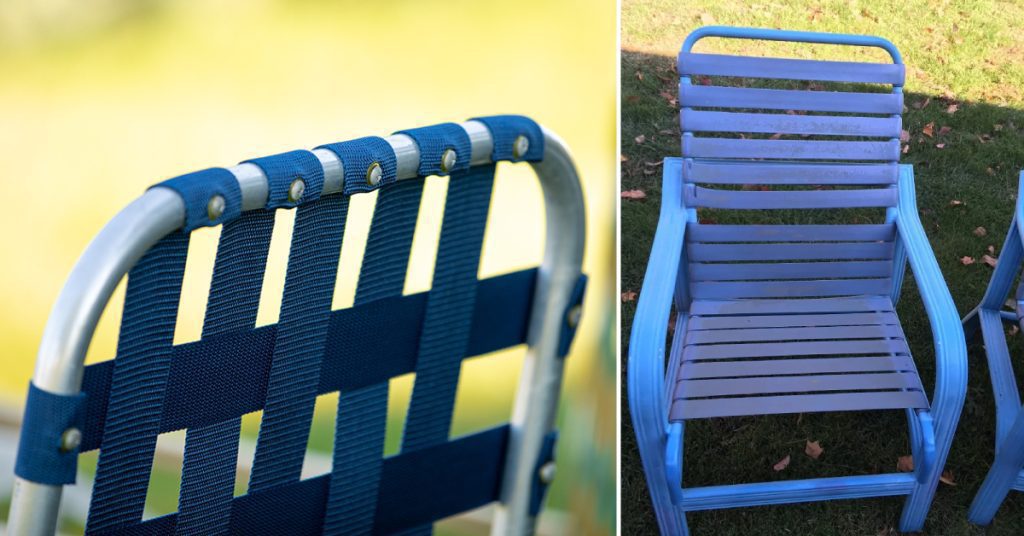
Eventually, the strapping on outdoor terrace seats and other garden furniture can get damaged, ripped, or slack, affecting both the comfort and aesthetics of the furniture. Rather than buying a new outdoor seat, you can economize by refurbishing its usability by substituting the strapping on the terrace seat. This guide will walk you through the full process step-by-step of how to fix webbing on patio chair.
Key Takeaways:
- Webbing affects patio chair comfort, support, and style. Replace faded, torn sections.
- 6 steps to fix webbing: Remove old, clean frame, measure/cut new webbing, attach strips with even tension, tighten with stretcher, and test stability.
- Proper webbing tension is essential – not too loose or tight. Use measurements as a guide, soften the material, and stretch evenly across the frame.
- Maintain by cleaning regularly with mild soap and protecting from sun. Repair minor damage immediately to prevent spreading.
What is Webbing and Why is it Important for Patio Chairs?
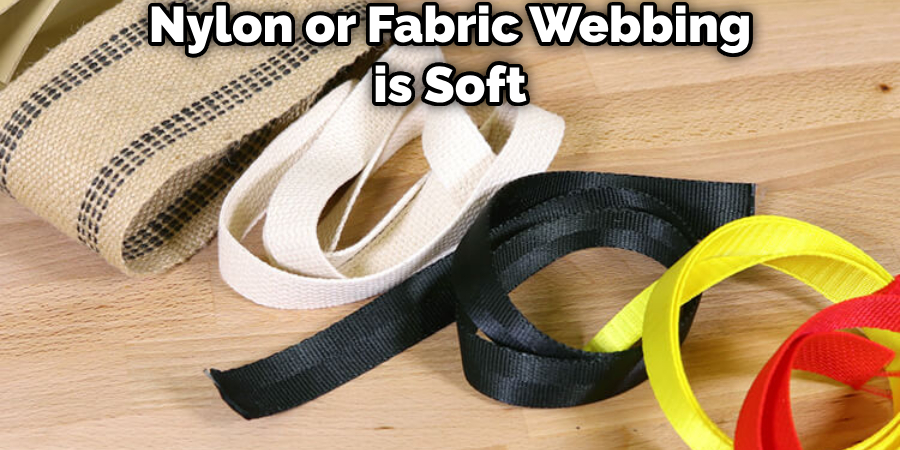
Webbing is the material that covers the seat and back of some patio chairs. It is usually made of vinyl, nylon, elastic, or fabric. Webbing provides cushioning, support, and ventilation for the chair. It also adds color and style to the chair. Webbing is essential for patio chairs because it affects their comfort, support, and aesthetics. If the webbing is faded, sagging, tearing, or breaking, it can make the chair look old and unattractive. It can also make the chair feel uncomfortable and unsupportive.
Fixing webbing on a patio chair can solve these problems and make the chair look new and inviting. It can also make the chair feel comfortable and supportive. Fixing webbing on a patio chair is also a cost-effective solution compared to buying a new chair or hiring a professional service.
6 Proven Steps for How to Fix Webbing on Patio Chair
Follow this six steps for how to fix webbing on patio chair:
What You’ll Need
Before starting the patio chair repair, gather these tools:
- Scissors or utility knife
- Webbing stretcher
- Tape measure
- Screwdriver
- New webbing designed for patio chairs
- Masking tape
- Staple gun and staples
Step 1: Remove the Old Webbing
Turn the patio chair upside down to access the bottom. Remove any screws or staples holding the old webbing in place. Cut away the remaining webbing on the chair, being careful not to damage the frame. Clean the chair frame of any dirt or debris.
Step 2: Prepare the Chair Frame
Inspect the chair frame for damage, tightening any loose screws. Clean any webbing channels of debris. Apply adhesive if needed to aid webbing adhesion. Allow adhesive to fully dry.
Step 3. Measure and Cut New Webbing
Use a tape measure to measure length and width of webbing area on the chair frame. Add several inches to allow for securing the new patio chair webbing. Use the measurements as a guide to cut the replacement webbing. Create notches if the frame has webbing channels.
Step 4. Attach the New Webbing
Position the first webbing strip on the patio chair frame and temporarily tape it. Use the staple gun to attach the webbing every few inches, keeping it taut. Repeat across all webbing strips on the outdoor chair, maintaining even tension.
Step 5. Tighten and Secure the Webbing
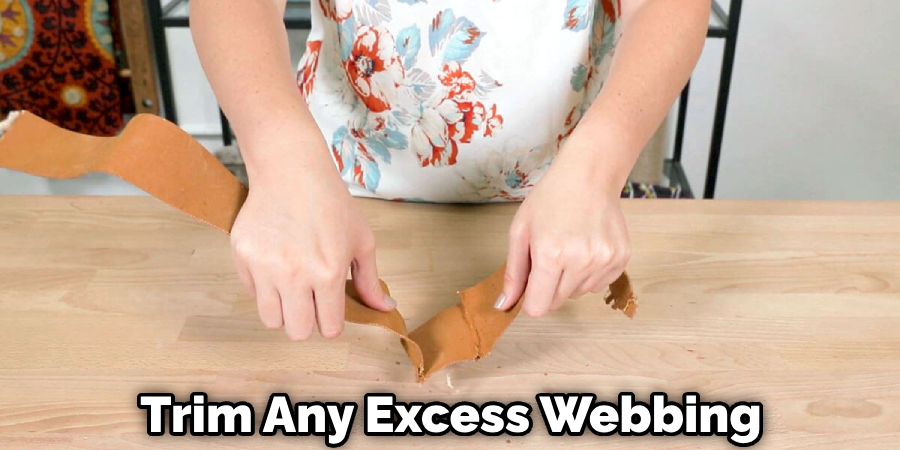
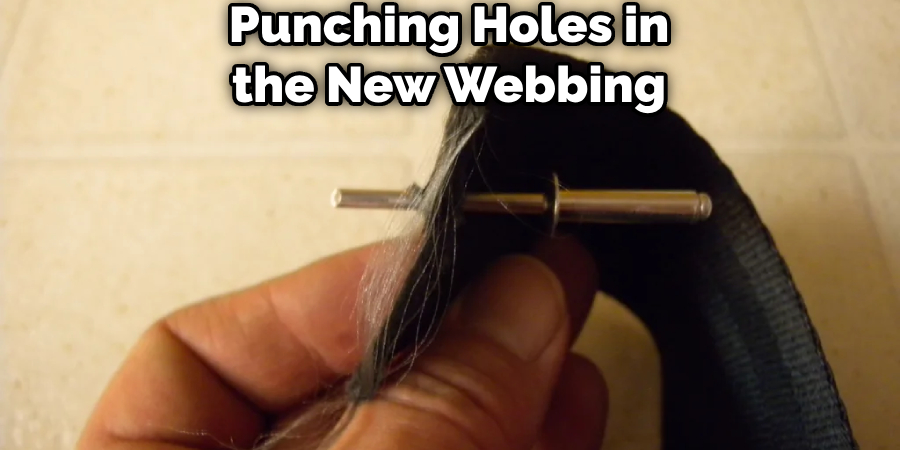
Use a webbing stretcher to firmly pull the webbing on the patio chair, removing any slack. Continue adjusting across all strips on the chair, then add more staples to permanently secure the vinyl strap. Trim any excess webbing.
Step 6. Test Chair Stability
Carefully return the patio chair to upright position. Sit and rock gently, checking for looseness or uneven support. Reinforce any weak spots. The outdoor chair should now provide comfortable, durable seating.
You Can Check It Out to Repair Patio Chair Mesh.
5 Tips for Ensuring Proper Tension
One of the most essential aspects of fixing webbing on a patio chair is to ensure proper tension. If the webbing is too loose, it will sag and lose its support. If the webbing is too tight, it will stretch and break.
To ensure proper tension, you should follow these tips:
- Measure and cut the new webbing carefully according to the chair size and pattern. You may want to subtract 10% from the length to account for stretching.
- Use a vise or vise-grip pliers to hold the fasteners or clips while attaching the webbing to the frame.
- Soften the vinyl or elastic webbing in boiling water briefly before stretching it across the frame. This will make it easier to install and adjust.
- Stretch the webbing evenly across the frame without twisting or overlapping it. You may want to use a rubber mallet to tap it into place.
- Adjust the tension by pulling or pushing the webbing until it feels firm but not too tight. You may want to sit on the chair to test it.
You Can Check It Out to Replace Patio Chair Slings.
Maintenance and Care Tips for Webbing on a Patio Chair
After fixing webbing on a patio chair, you should take some steps to maintain and care for it. This will prolong its lifespan and appearance. Here are some tips on how to maintain and care for your webbing on a patio chair:
- Clean your webbing regularly with a soft cloth and mild soap and water. This will remove any dirt, dust, pollen, or grease that may accumulate on the webbing and cause it to fade or deteriorate.
- Avoid using abrasive cleaners or chemicals that may damage the webbing material or color. For example, do not use bleach, ammonia, alcohol, or vinegar on your webbing. These substances may weaken the webbing fibers or cause discoloration.
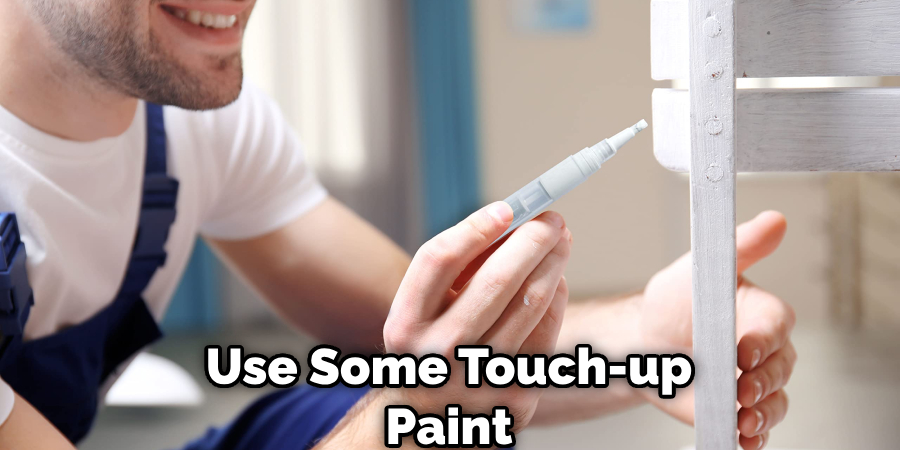
- Protect your webbing from excessive sun exposure or weather conditions. Sunlight can cause the webbing to fade or crack over time. Rain, snow, or humidity can cause the webbing to mold or mildew. To prevent these problems, you can use some touch-up paint or protective covers for your webbing. You can also store your patio chair indoors or in a shaded area when not in use.
- Repair any minor damage or wear and tear on your webbing as soon as possible. If you notice any loose, rent, or frayed webbing, you can fix it with some glue, staples, clips, or screws. This will prevent the damage from spreading and affecting the comfort and support of your patio chair.
By following these tips, you can keep your webbing on a patio chair in good condition and extend its lifespan and appearance. You can also enjoy your patio chair for many years to come.
FAQs About How to Fix Webbing on Patio Chair
What is Webbing Tape?
Due to its lightweight strength, webbing tape is a durable fabric often used in climbing, furniture crafting, and military gear. Made from materials like nylon, polypropylene, and Kevlar, it’s versatile and capable of withstanding high forces. Its cost-effectiveness, resistance to wear and adaptability make it a popular choice for creating harnesses, straps, tie-downs, and fasteners in various industries.
What is the Strongest Stitch for Webbing?
The strongest stitches for webbing, like the diamond and “W” patterns, enhance strength by aligning with stress directions. Bar tacks also perform well. However, it’s the combination of sufficient stitching, reinforcement stitches, and proper thread selection that ensures optimal strength for sewn webbing.
Can Webbing Be Repaired?
Yes, the webbing can be repaired. For outdoor chairs, like lounge chairs, damaged webbing due to weather exposure can be fixed by removing old webbing, cutting and weaving new pieces, and securely fastening them in place. This process helps restore the functionality and appearance of the furniture.
Conclusion
Replacing worn webbing is an affordable way to restore patio chairs and other patio furniture. Following this guide, you can successfully how to fix webbing on patio chair using common household tools. Taking your time to securely attach the webbing will lead to a quality, long-lasting repair.


